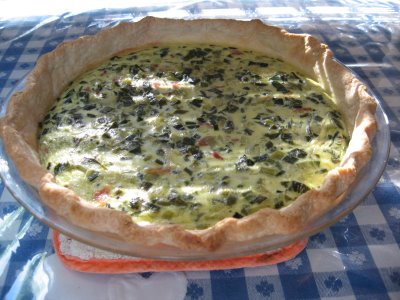
I think I must create a new tag and category just for pies. I love making them, and I’m sure readers could learn something if they looked at all the pie posts at once. Like, how NOT to make pies. The unfortunate thing is, you can’t taste the pies from where you are. Even the Buttermilk Pie that was too sweet had a tasty crust. But for the purpose of laughter, my latest experiment takes the cake–I mean pie. The flavor was WONDERFUL. But its looks were, well…interesting.
 You can’t tell how interesting from this picture of my first ever Lemon Meringue Pie. It is the most flattering I could manage. I wanted to start you off with the best, so you don’t get discouraged.
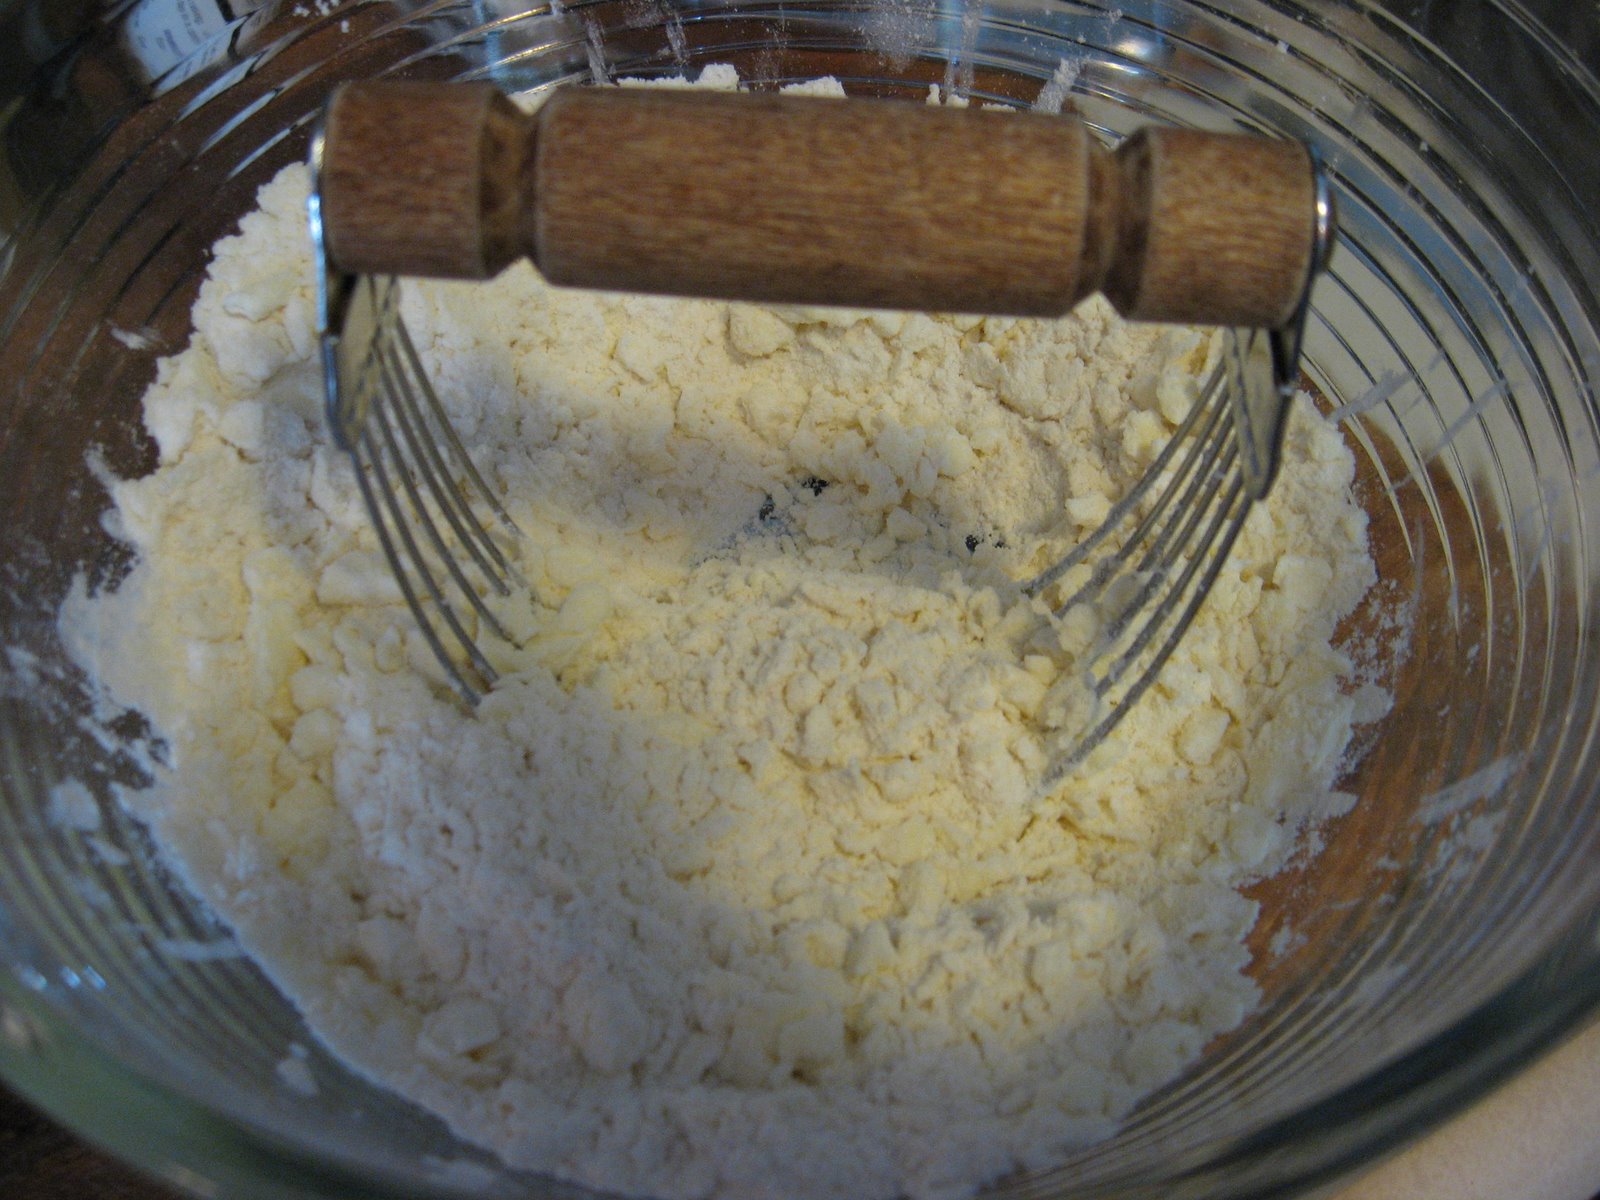
The flour, sugar, salt and butter are being coarsely blended together with my favorite pastry blender. The recipe for this pie dough is here.
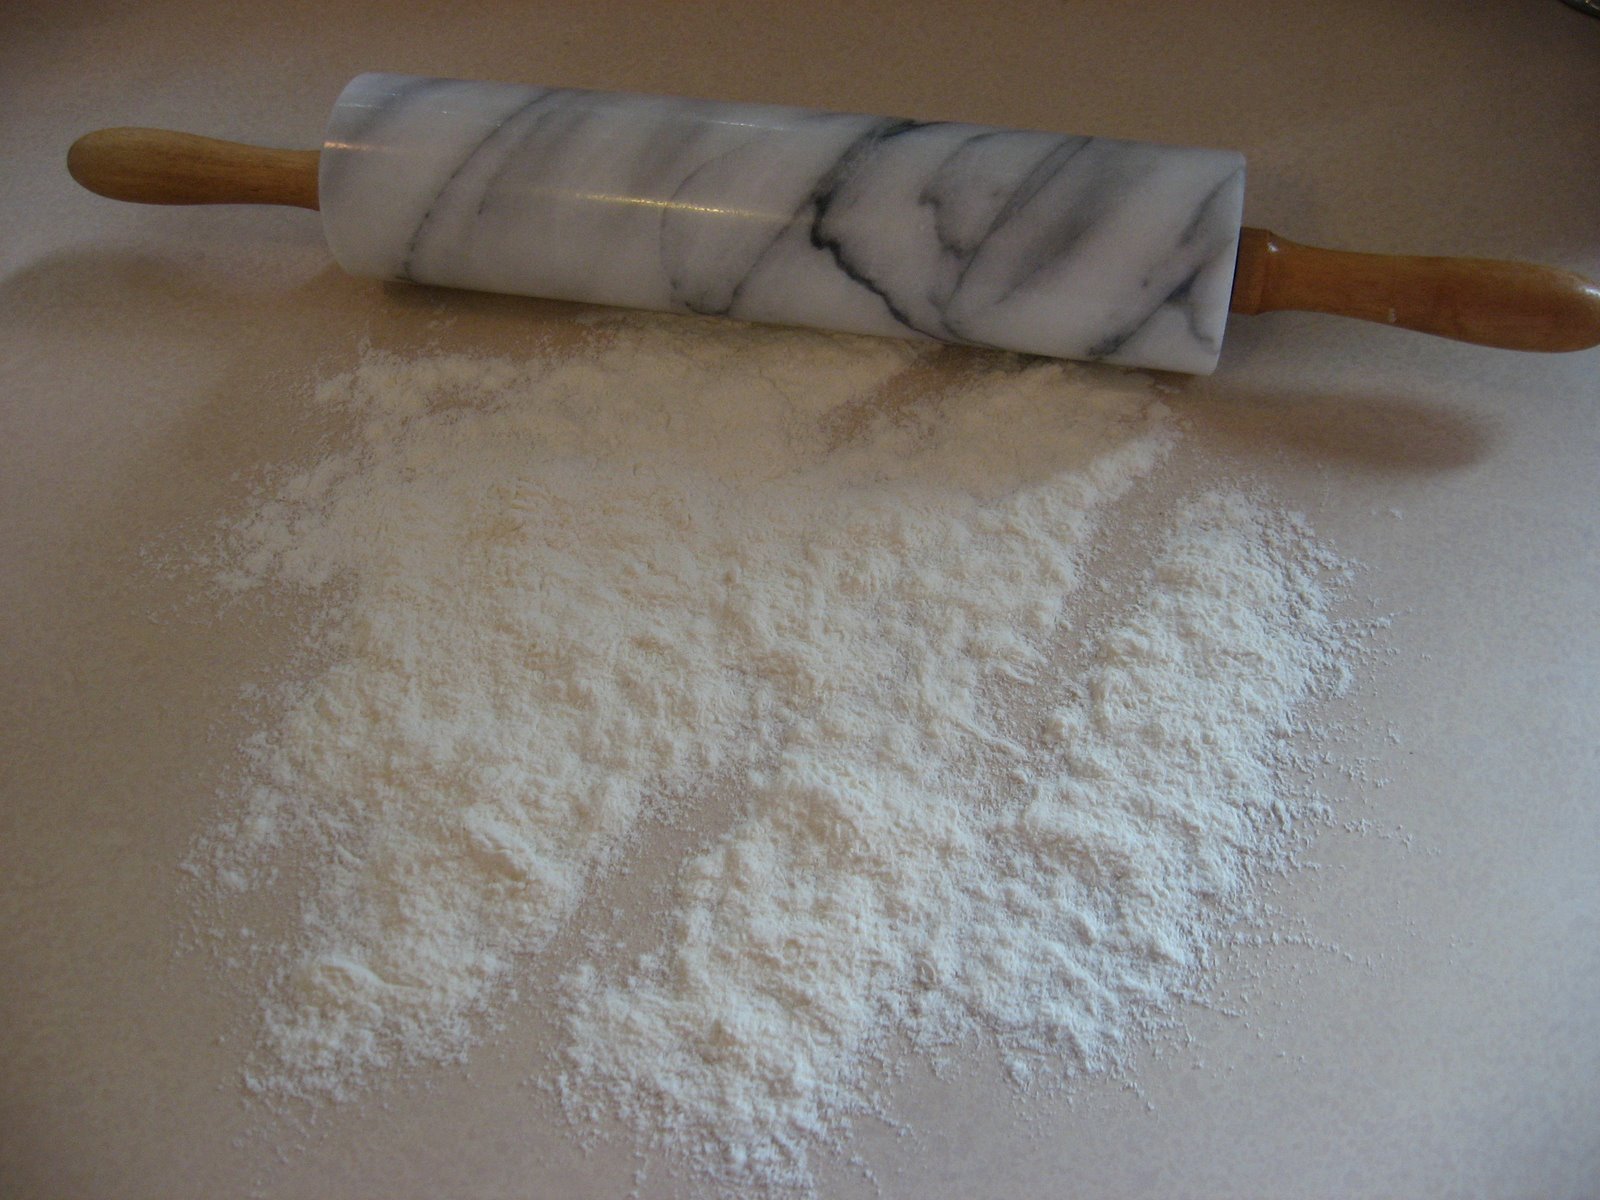 When I first started making pies, I used a pastry mat and a rolling pin cover to keep the dough from sticking and tearing. After I found this lovely marble rolling pin at a garage sale I stopped needing those helps. Maybe it was a coincidence, and it was just that I had by then developed a feel for pie dough. It is pure pleasure to use it.
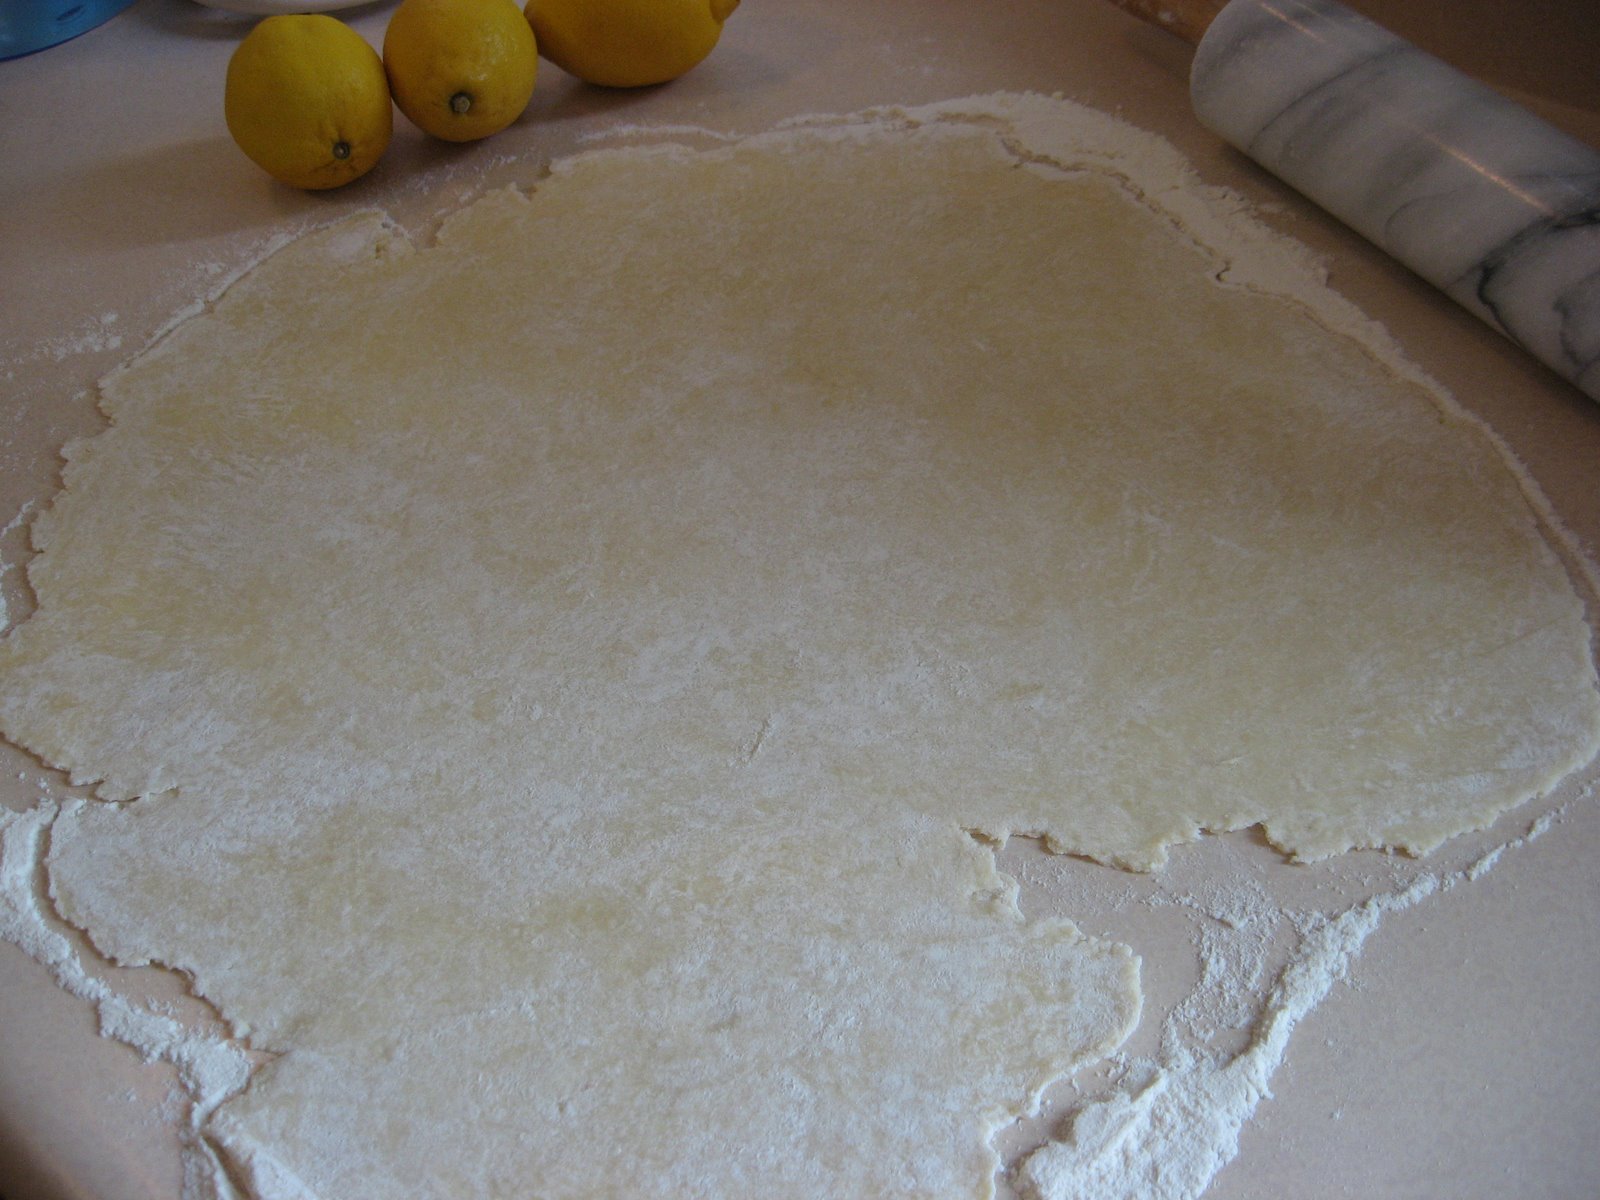
 I knew I was going to need all that flour on my dough “pancake” because I had added a few too many drops of water, making this lump a bit moister than ideal.
See that rift developing on the lower right? It can be fixed.
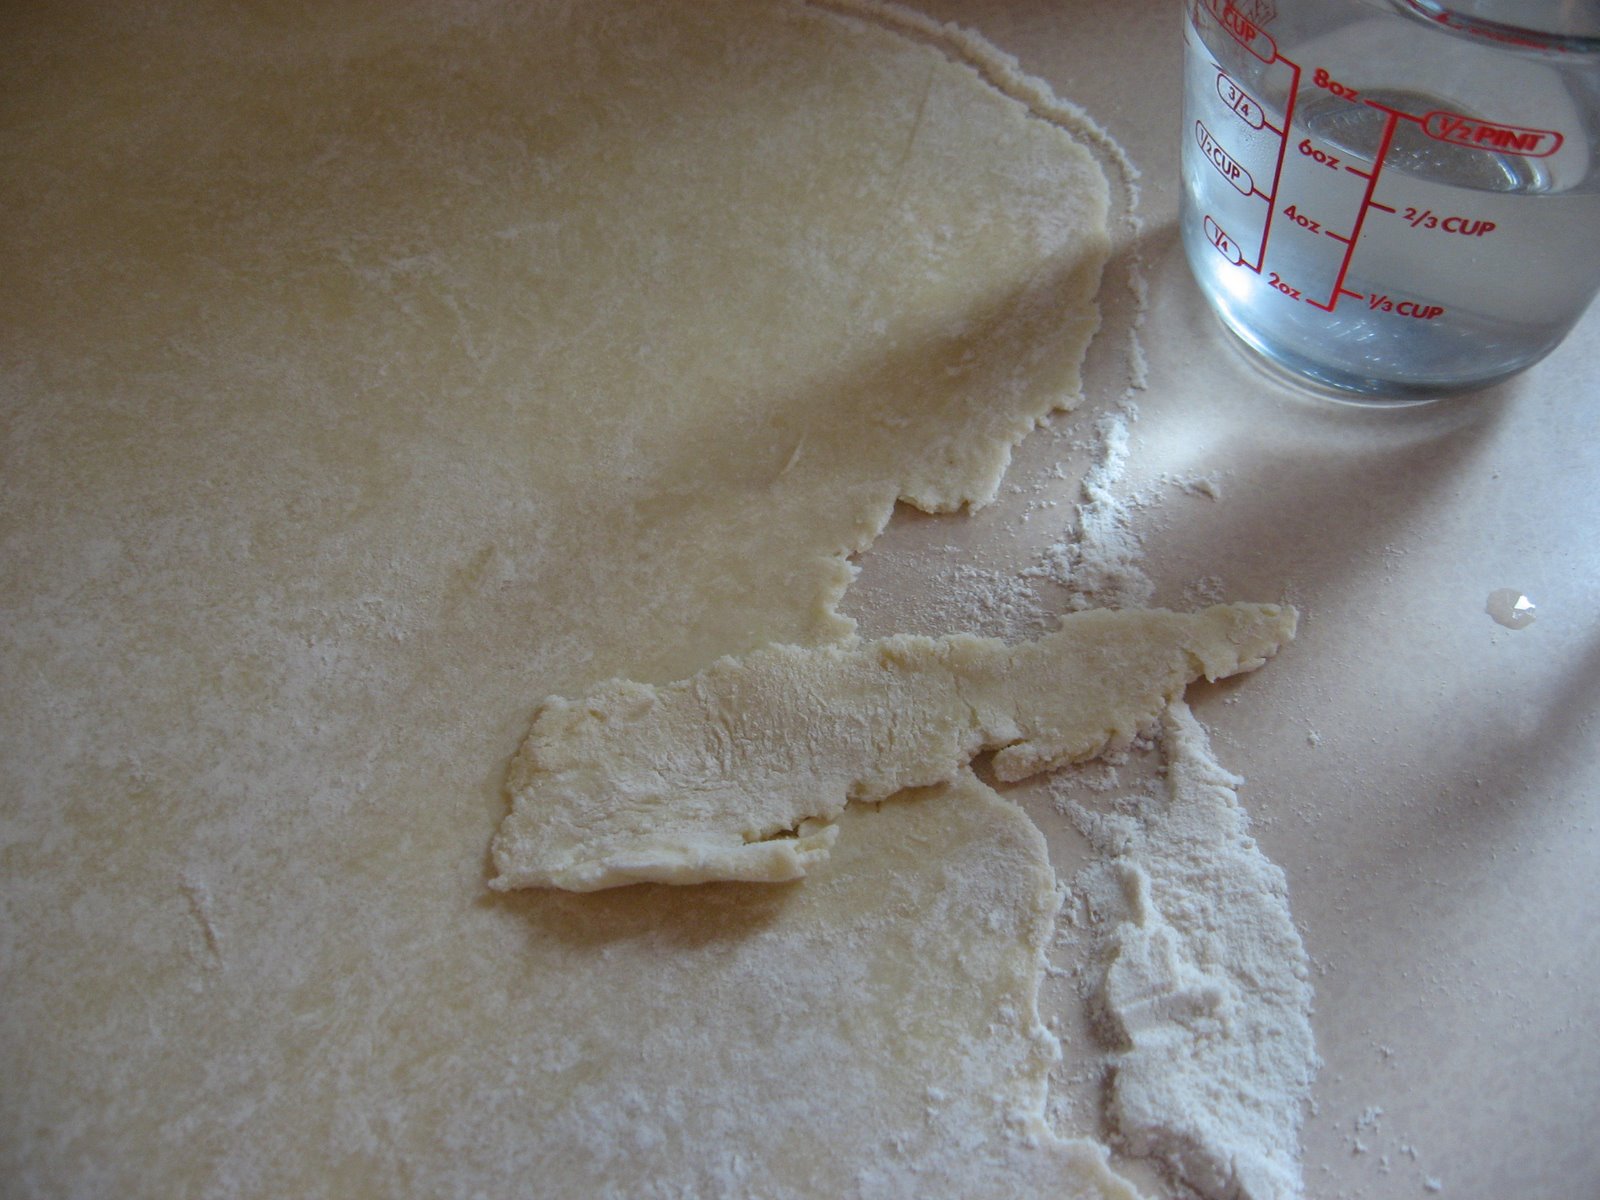 You carefully tear off a piece that happens to be sticking out somewhere else, and it becomes a repair patch.
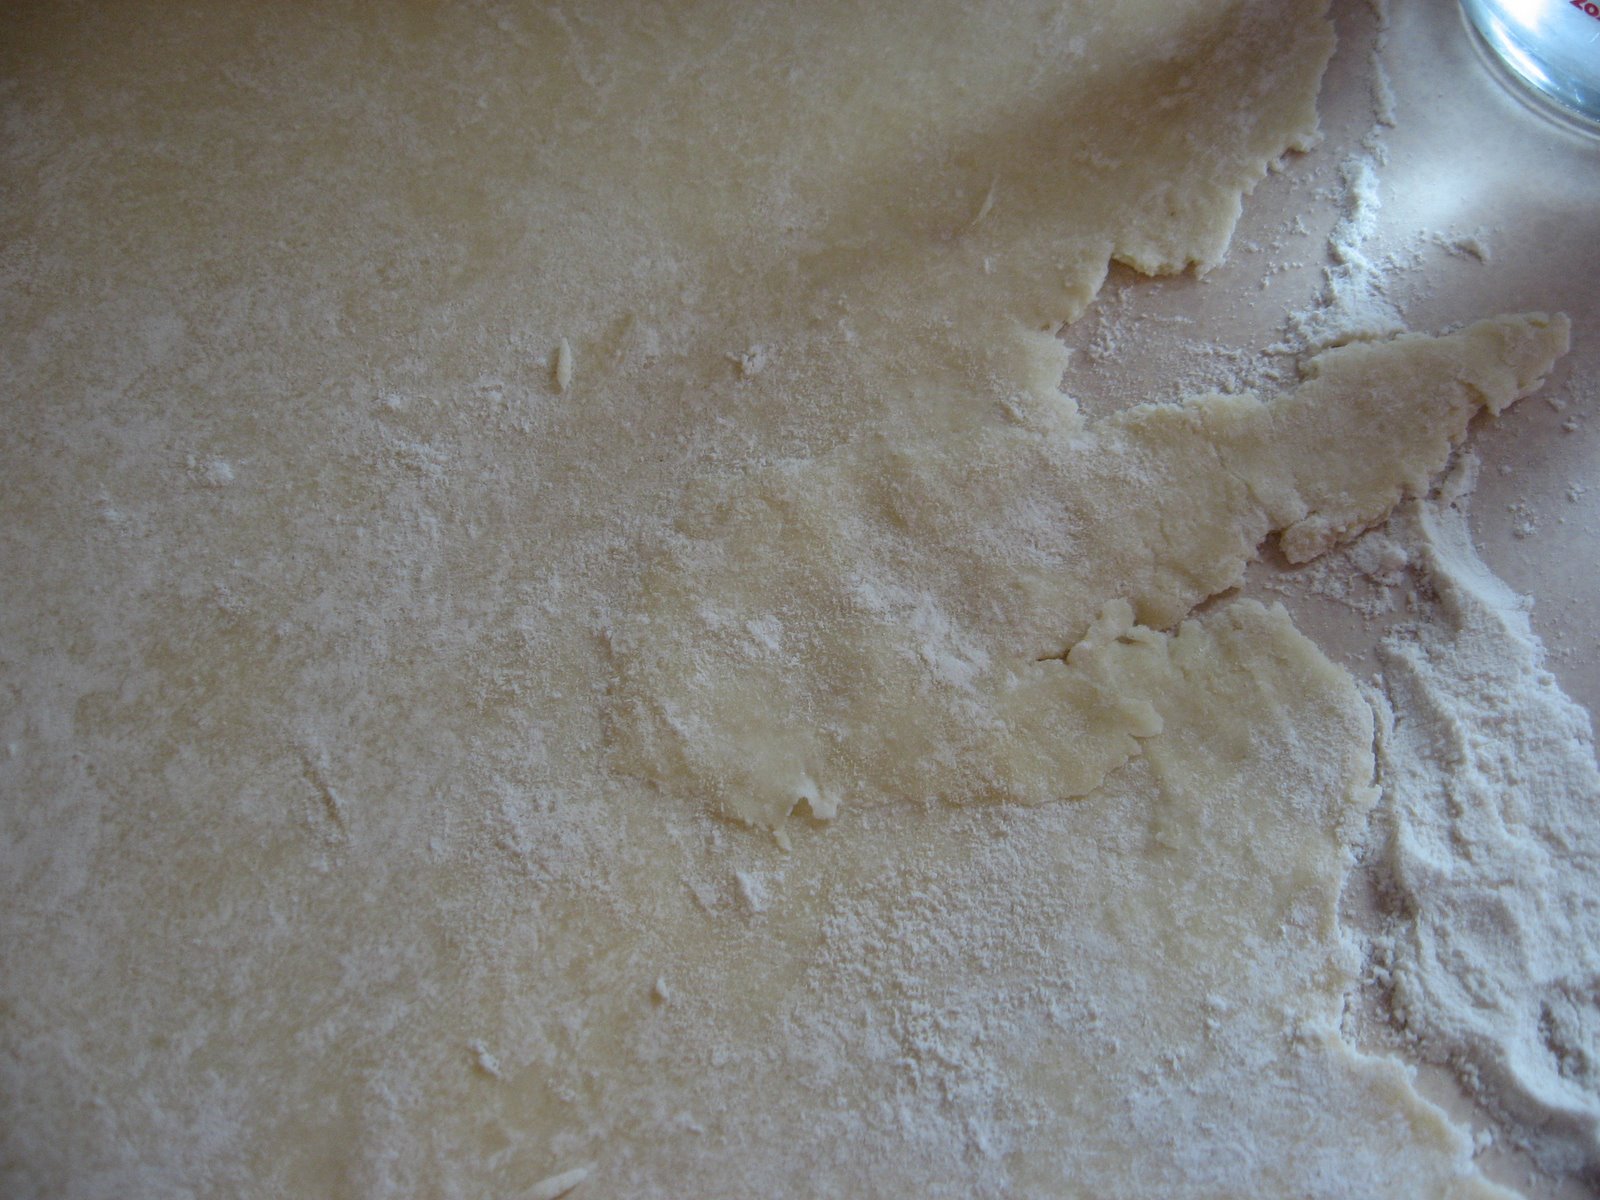 After “gluing” with a little water, dusting with some flour, I patted the patch on,
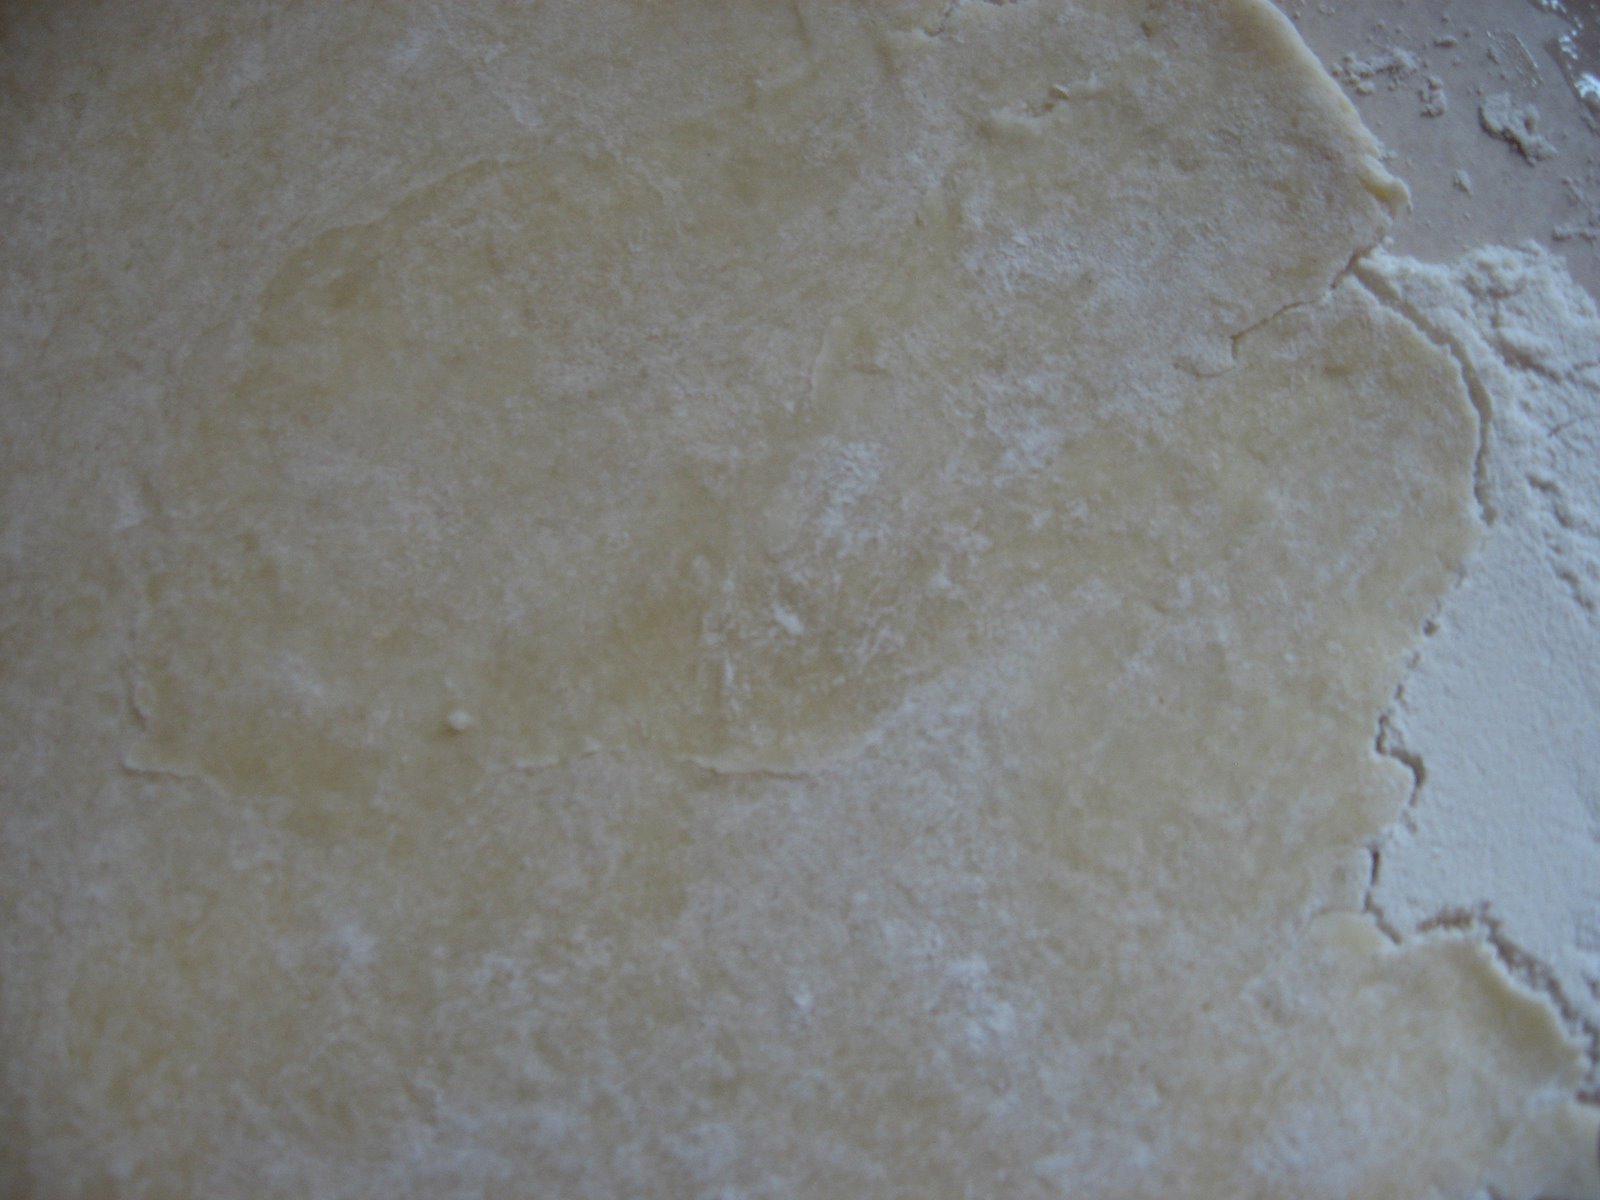 and then rolled it smooth.

With the empty pie plate nearby, I roll the dough part way back on to the rolling pin and then lay it back gently on to the pie pan, draping it over the edges and making sure that it is snug but relaxed into the corners of the bottom.
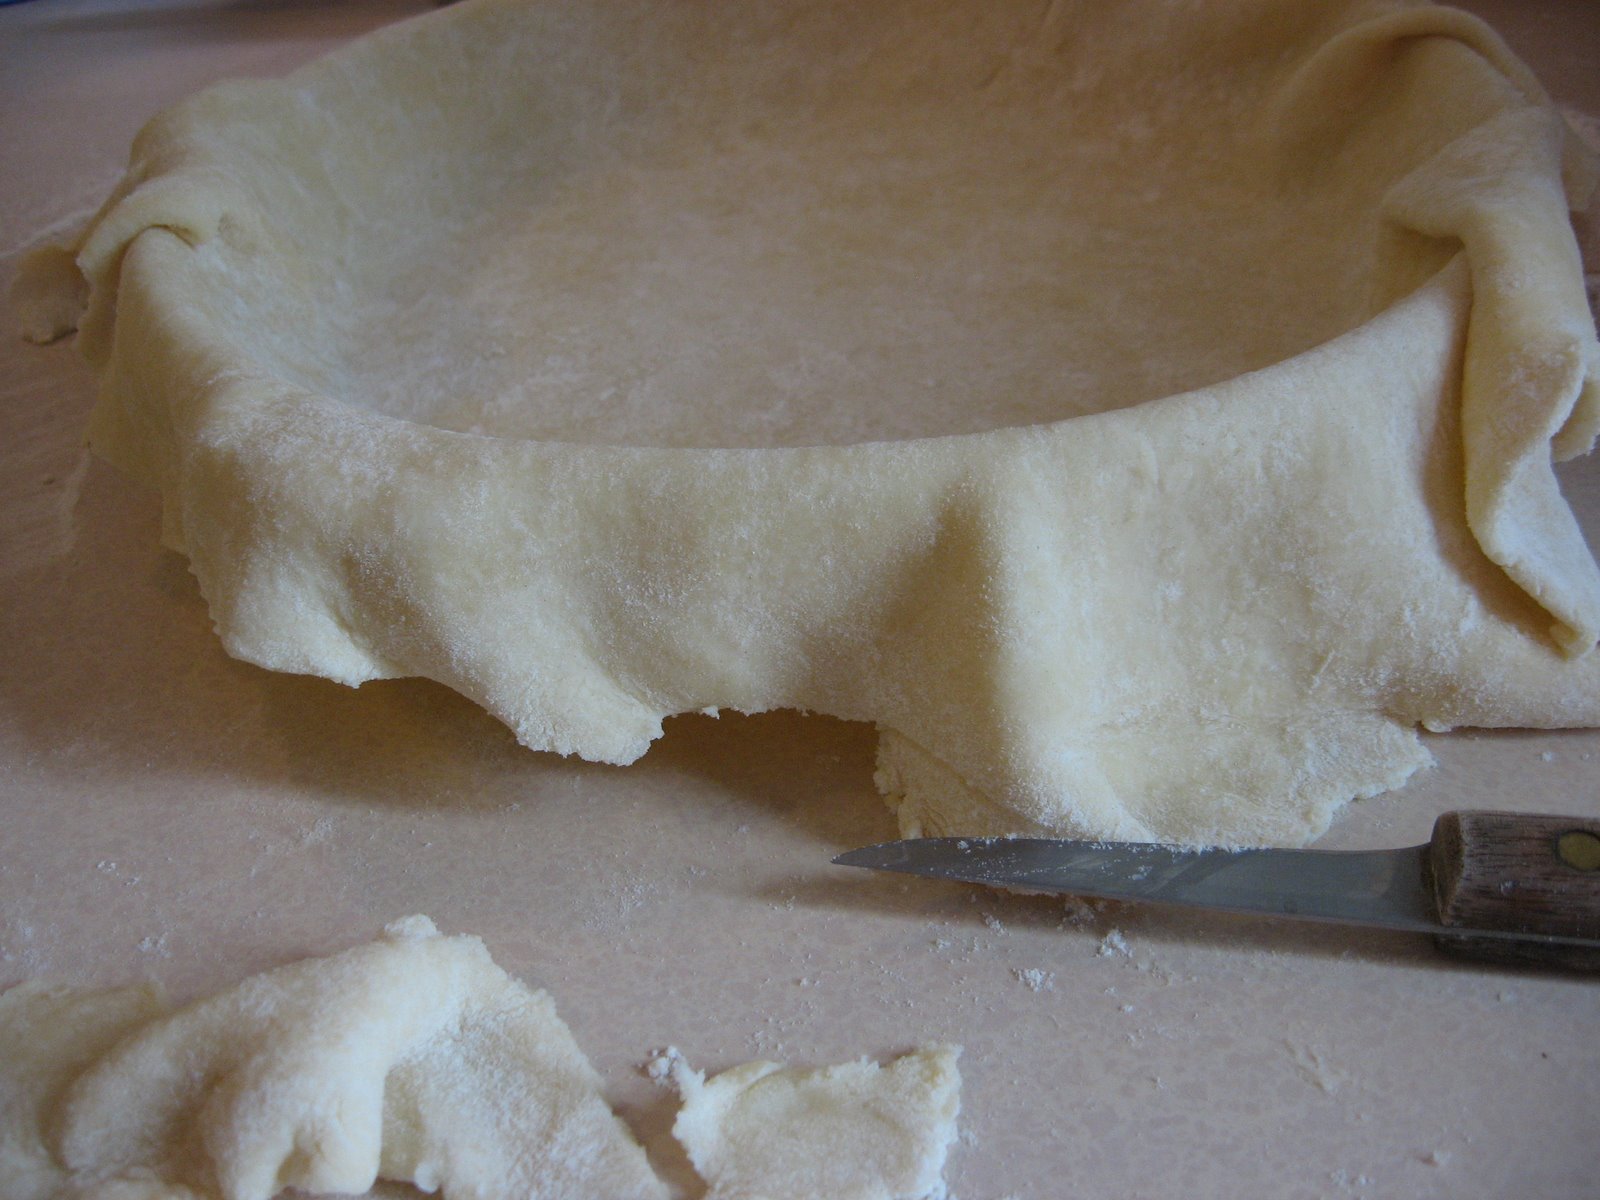 Trim off the excess and ragged edges of dough. How much is excess? When you look at the pictures below you’ll realize that I don’t really know the answer to that.
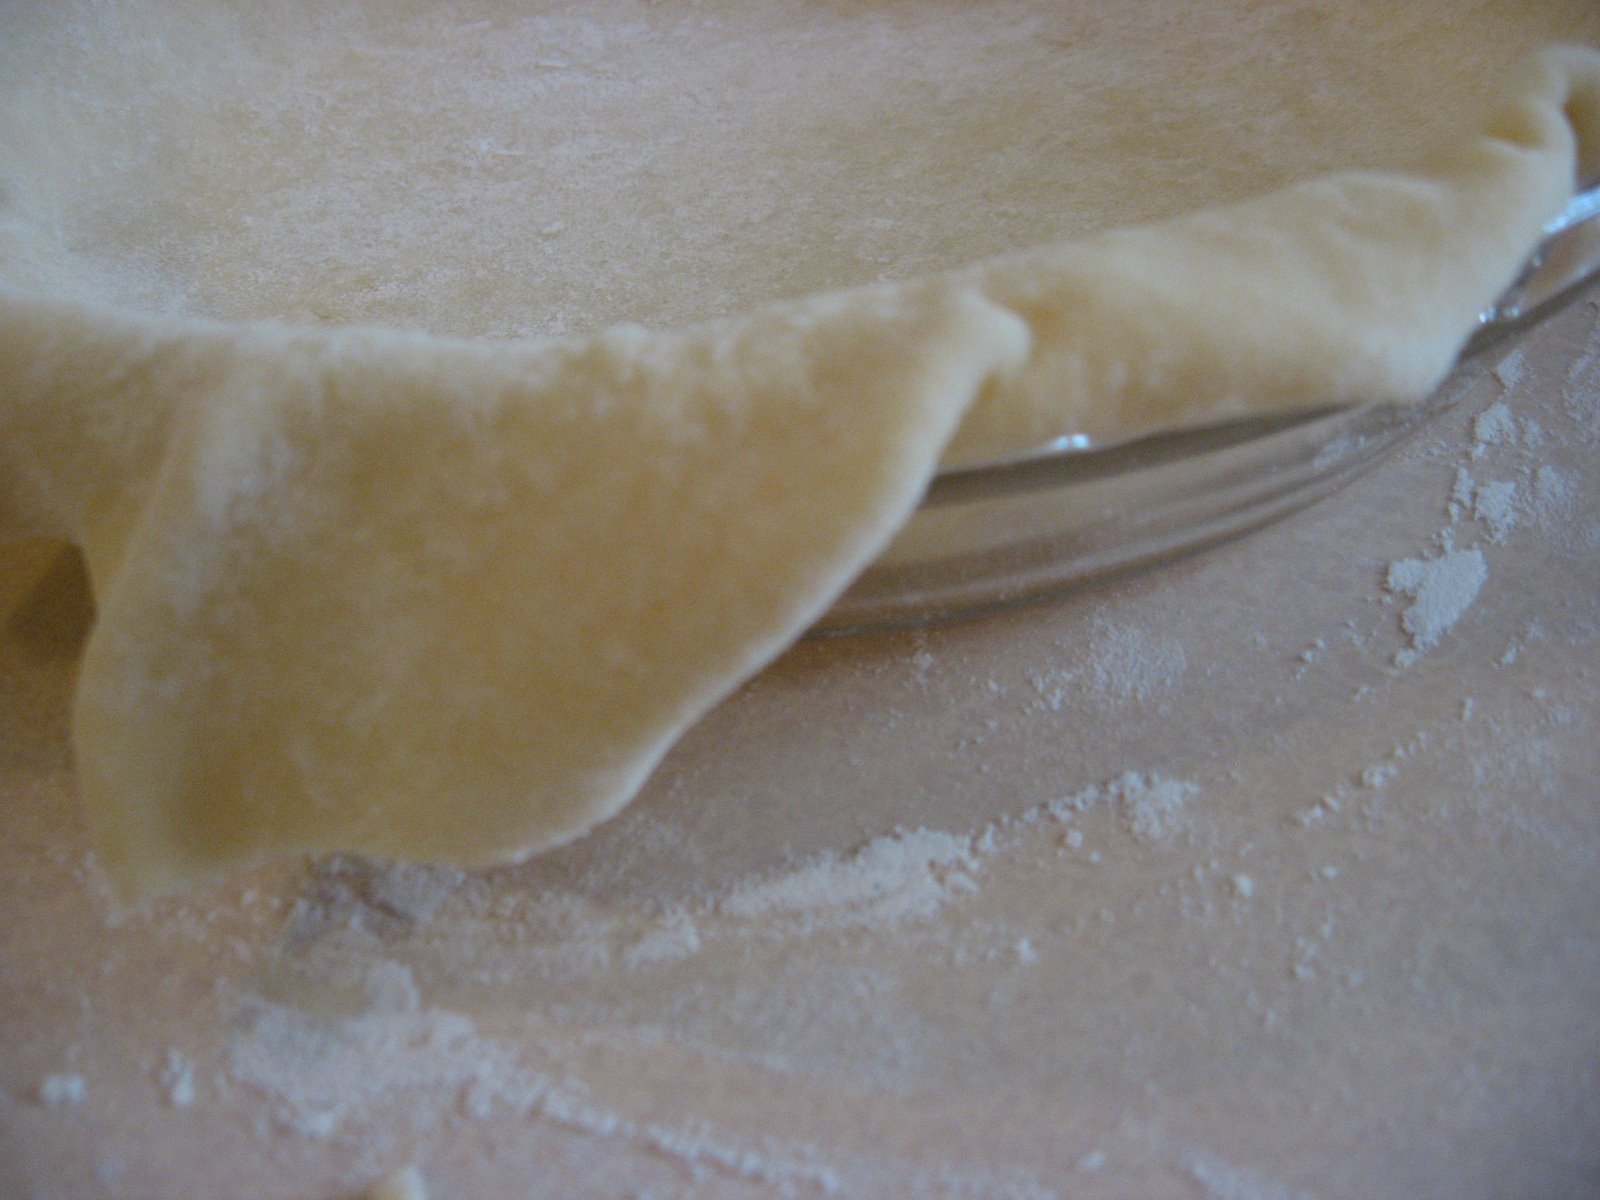 When I was learning from a book, the author didn’t explain how to make the edge of the crust neat. It took a veteran pie-maker showing me, to learn that after trimming, you fold the rough edge under to make a rolled edge. Perhaps my sloppy rolling this time contributed to the later problems.

I’m sorry I couldn’t show you how I flute the edge. B. was on a ladder outside and the dough wouldn’t wait for him to take my picture, so I proceeded without documentation. It involves a sort of pinching with the thumb and forefinger of both hands, twisting in opposite directions.
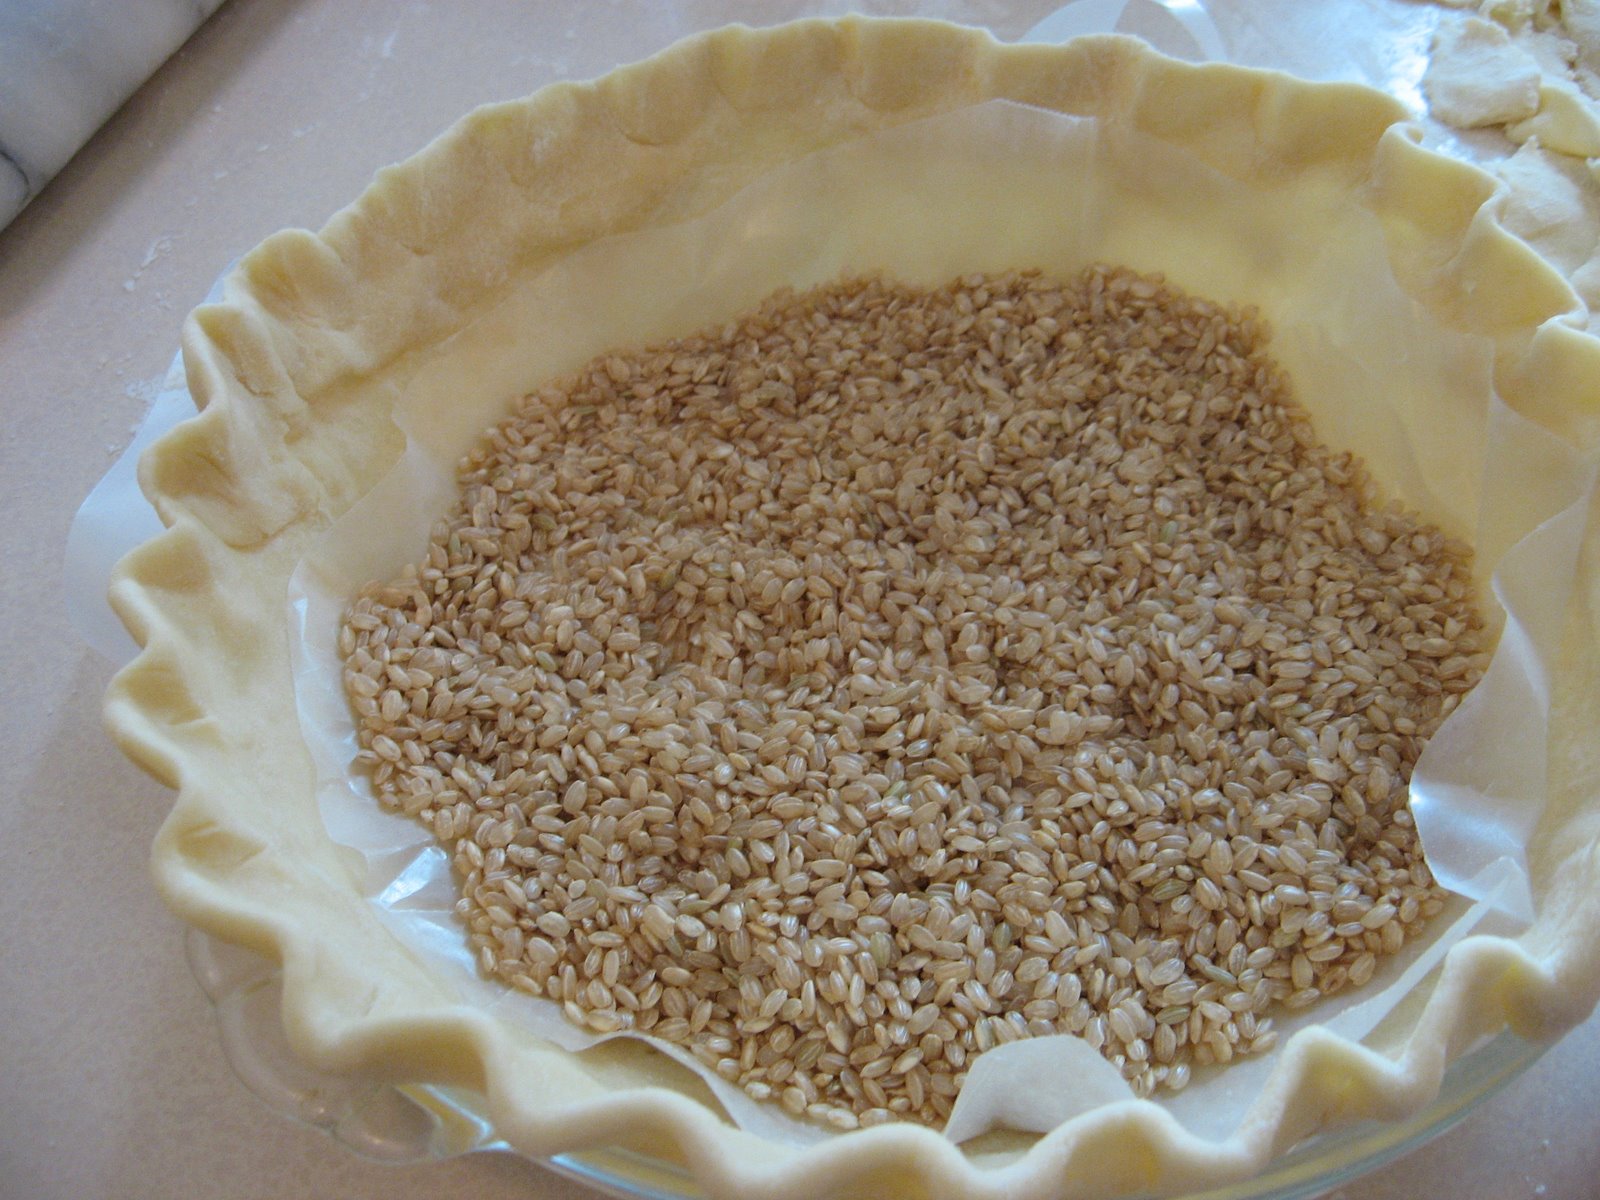
The pie shell was ready to bake at this point, and after pricking it with a fork, I laid some rice on to wax paper in the bottom of the shell, to keep it from puffing up while baking. In the past I have used beans or another, smaller pie plate.
 While the shell was baking I started the filling. If you want a lot of lemon flavor, be sure to add plenty of lemon zest. I used a tablespoonful. For years I struggled to get the precious peel off of my lemons with an old and dull grater. Eureka! The microplane, now one of my most beloved tools. See how it can take off the finest shreds of peel, without any of the bitter white part. And it does it without any strain to the old elbows.
The filling recipe I used came out perfect, not runny at all. I followed the advice of several people to use a full 6 tablespoons of cornstarch, and my recipe used 5 large egg yolks and one cup of sugar. I’m not giving you the whole recipe for this pie, because most recipes are similar, and some aspects of mine were obviously not the best. Instructions were for a deep-dish 9″ pie plate, but I think a shallow pan might have worked better.
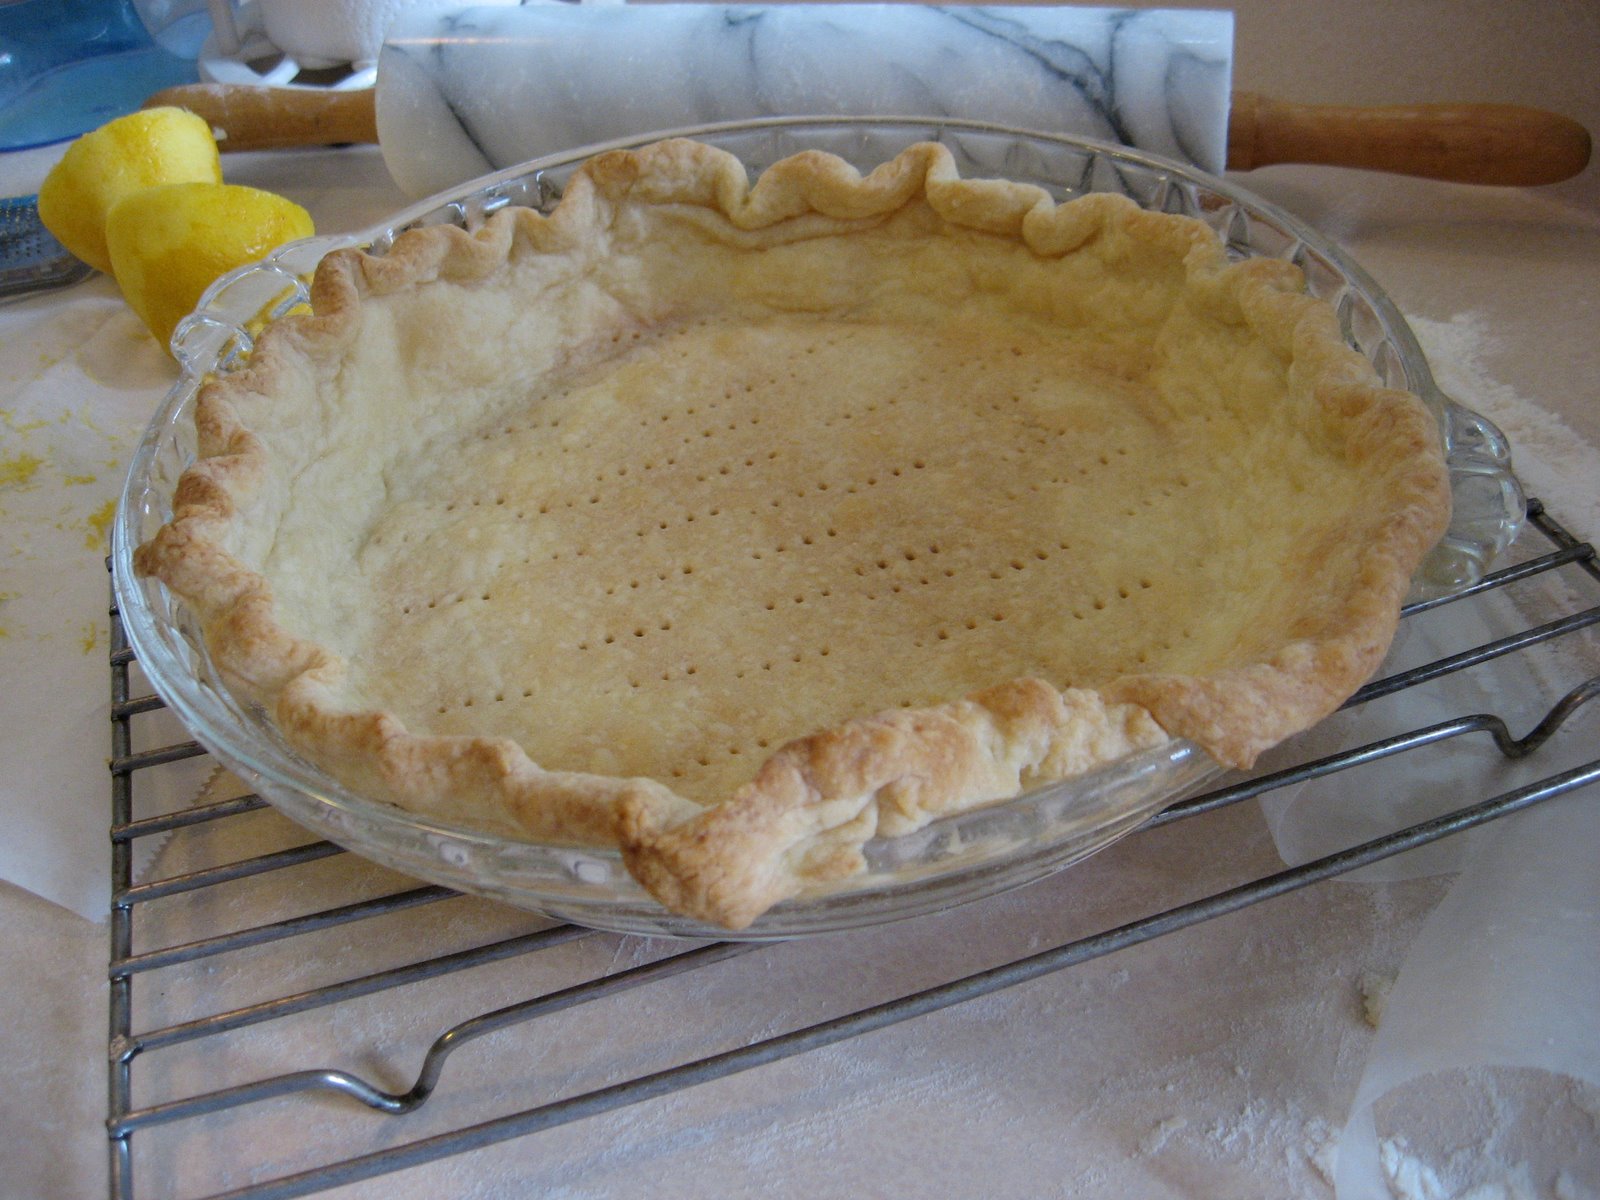 This is the most revealing picture, showing the homeliness of my poor pie shell. I wonder if my repair job made that section of crust too soft so that it melted outward? But why did some parts shrink down into the pie plate? Was it the extra moisture requiring extra flour? There is probably a pie troubleshooter somewhere that I haven’t bothered to consult.

The filling is now poured into the shell, and you can see the oddly shaped crust from a different vantage point.
 My beloved pot. I really never thought about how thankful for it I am until today. I have had my set of stainless steel cookware with its copper layer sandwiched in since we got married 37 years ago. This 3-qt. pot has probably been used every day at least once in that time. The brand was Seal-O-Matic, “waterless” cookware, and they aren’t in business under that name anymore.
 Now I have dumped the first load of meringue on top. I can’t imagine how this is going to work; the meringue seems too stiff to spread without pushing the filling all out of level. But if it isn’t stiff, how will it stay in those lovely swirls I expect to make?
 The shrunken-in edges of crust make it very hard to follow the directions to spread the meringue right down to the crust, sealing in the filling. But I end up with a mountain of meringue, sculpted out of about 2/3 of what was in the mixer bowl. I noticed that the recipes vary in the number of eggs used, from 3-5, and they always use all the yolks in the filling and all the whites for the meringue. I would prefer a pie with only a 3-white meringue; it’s
that fluff that put me off so long from being interested in this kind of pie. But it was delightful work, swishing the soft and shiny stuff around.
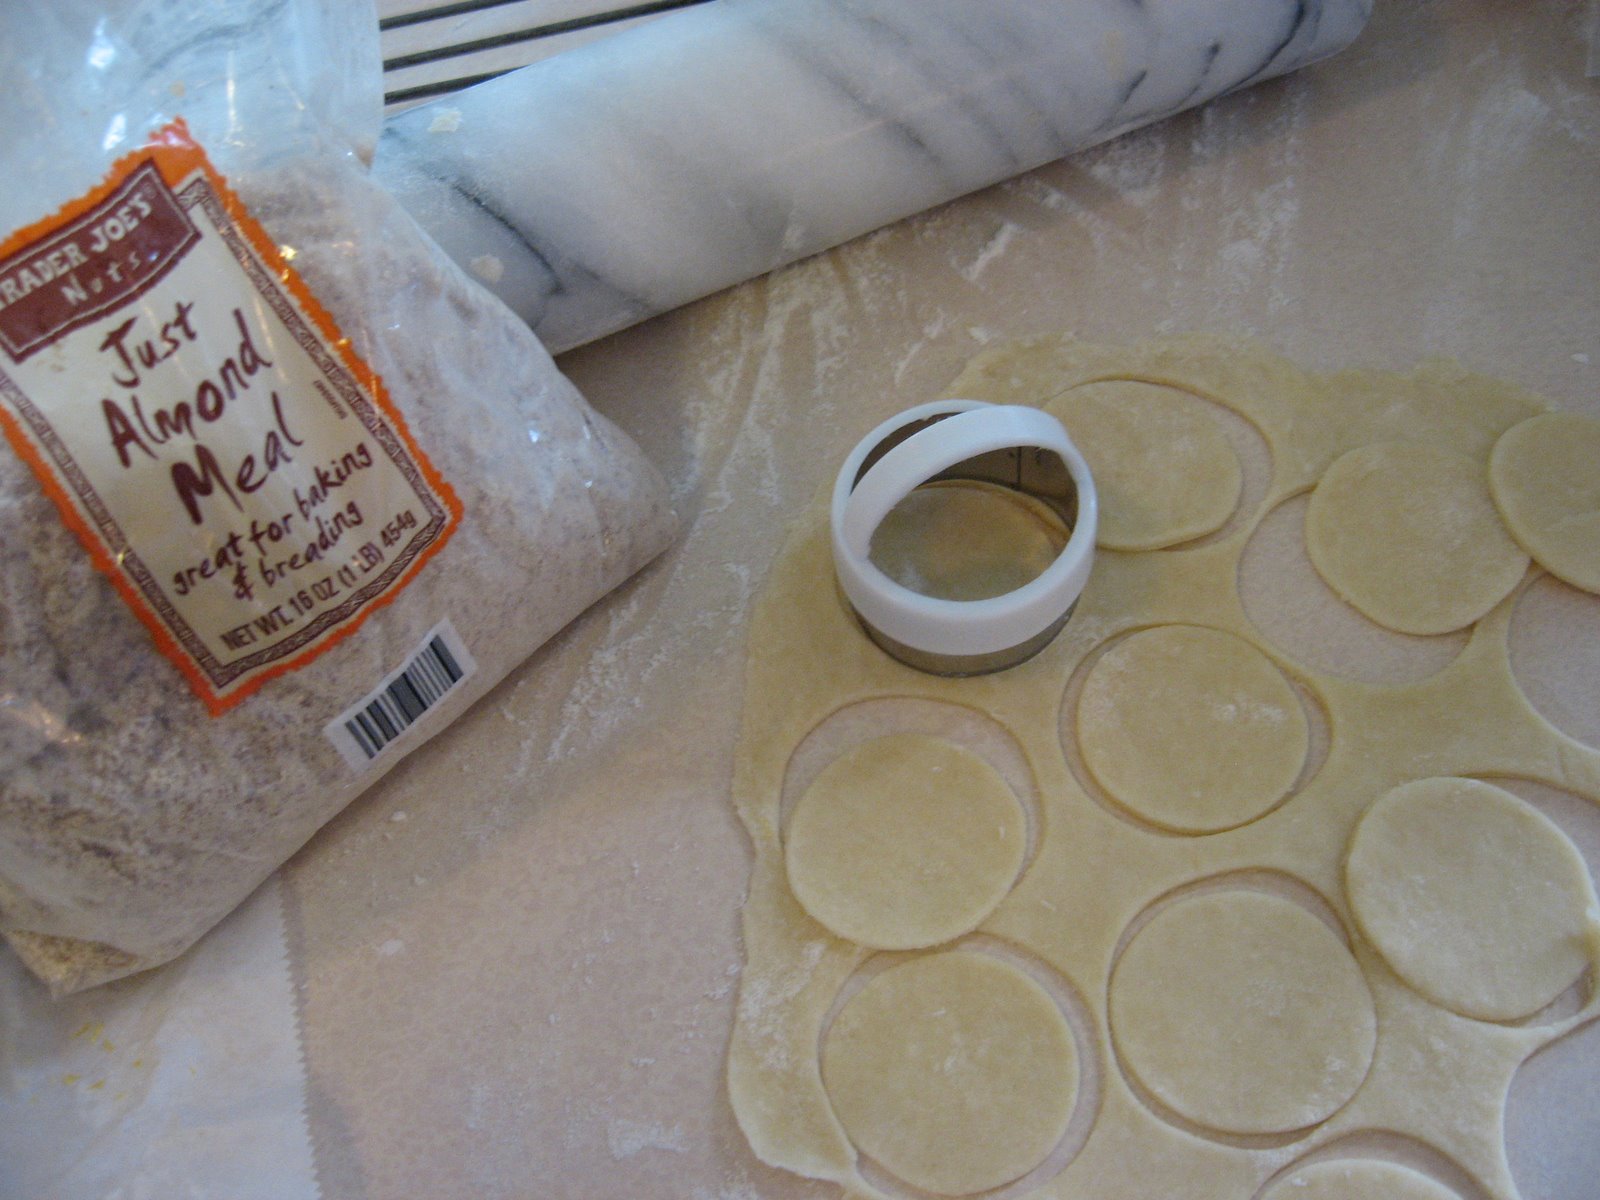
What to do with the leftover meringue? There was no time to read ideas or think much, so I made a snap decision to use the leftover pie dough to make cookie platforms…
 I folded some almond meal and cinnamon into the meringue and put little dollops of that on the rounds of dough, and baked them. They were cooked at various temperatures, kind of “on the back burner” because I didn’t have time for them, really. And after I assembled them I thought, Oh, dear, meringue-type cookies want a slow oven, and pie crust cookies a fast oven. So these will be terrible.
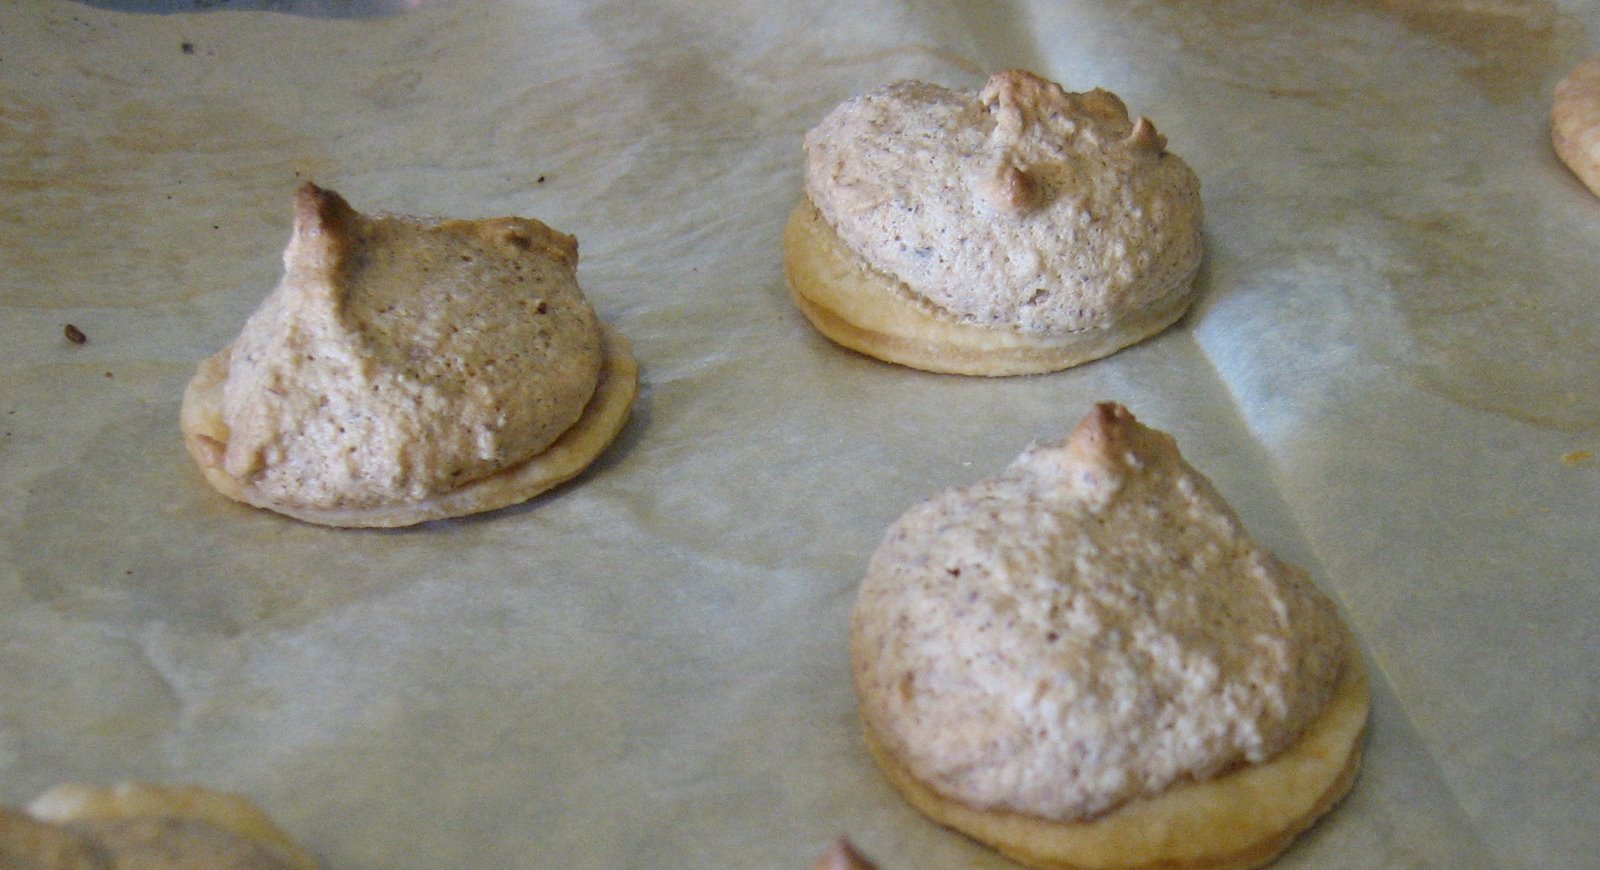 But they were fine.
 Now I’ll show you a less becoming photo of the finished pie. The meringue looks great, but there are handles….They might be useful if you were trying to eat a slice of pie out-of-hand. I hope you don’t do that!
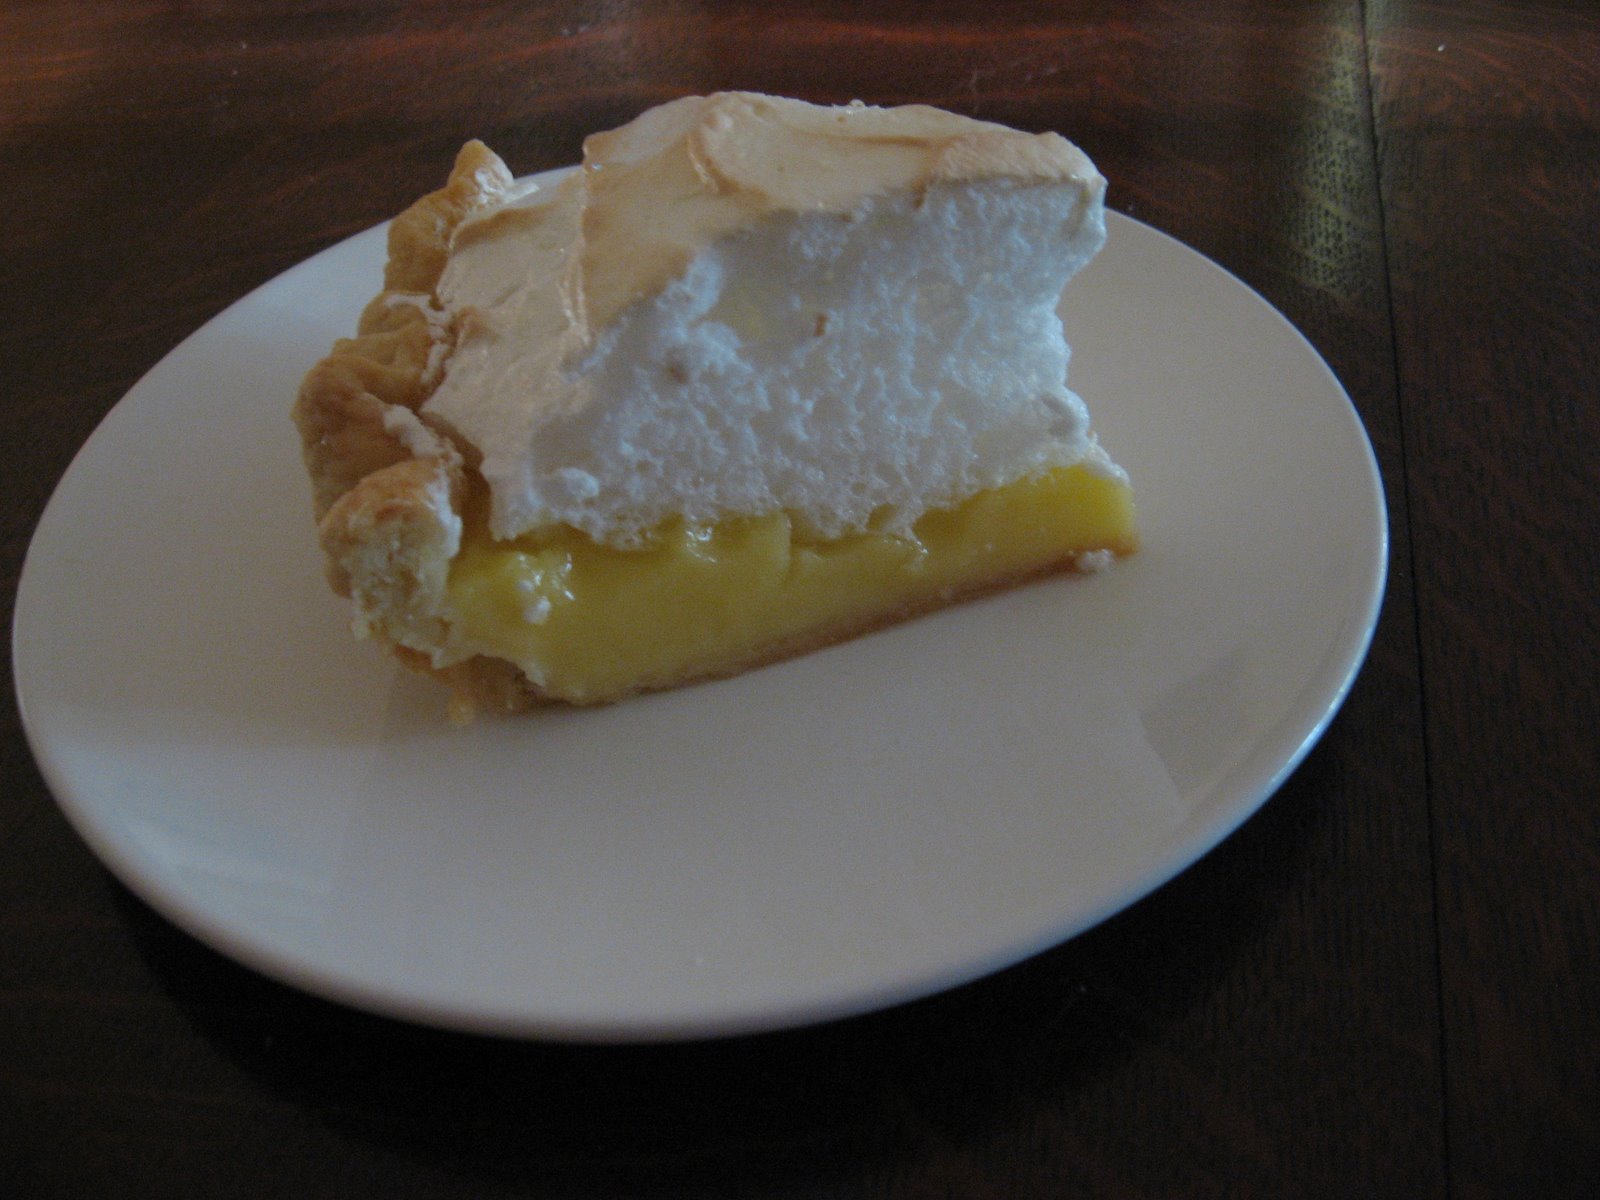 This picture shows how 1) the filling did in fact get pushed out of shape when I swirled all that meringue around, 2) the meringue topping is way out of proportion to the filling, which should be the main event, and 3) the crust soaked up a lot of moisture from the filling. Is that supposed to happen? Won’t it naturally go through the holes pricked in the dough? The crust was very good nonetheless, not soggy at all, but the pie was sitting in a pool of lemony liquid. So maybe that is the runnyness that people talk about trying to avoid.
I hope you can tell also that the crust is nice and flaky. It’s buttery and yummy.
I’m ending this account with my other fairly flattering photo of a cut piece. And I hope my adventures make you want to bake your own pies. Even the failures are usually good to eat.


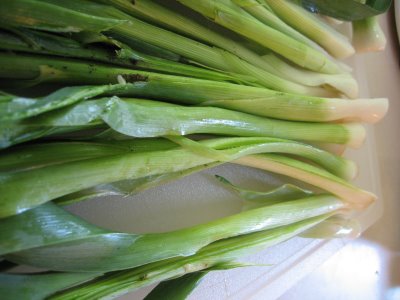
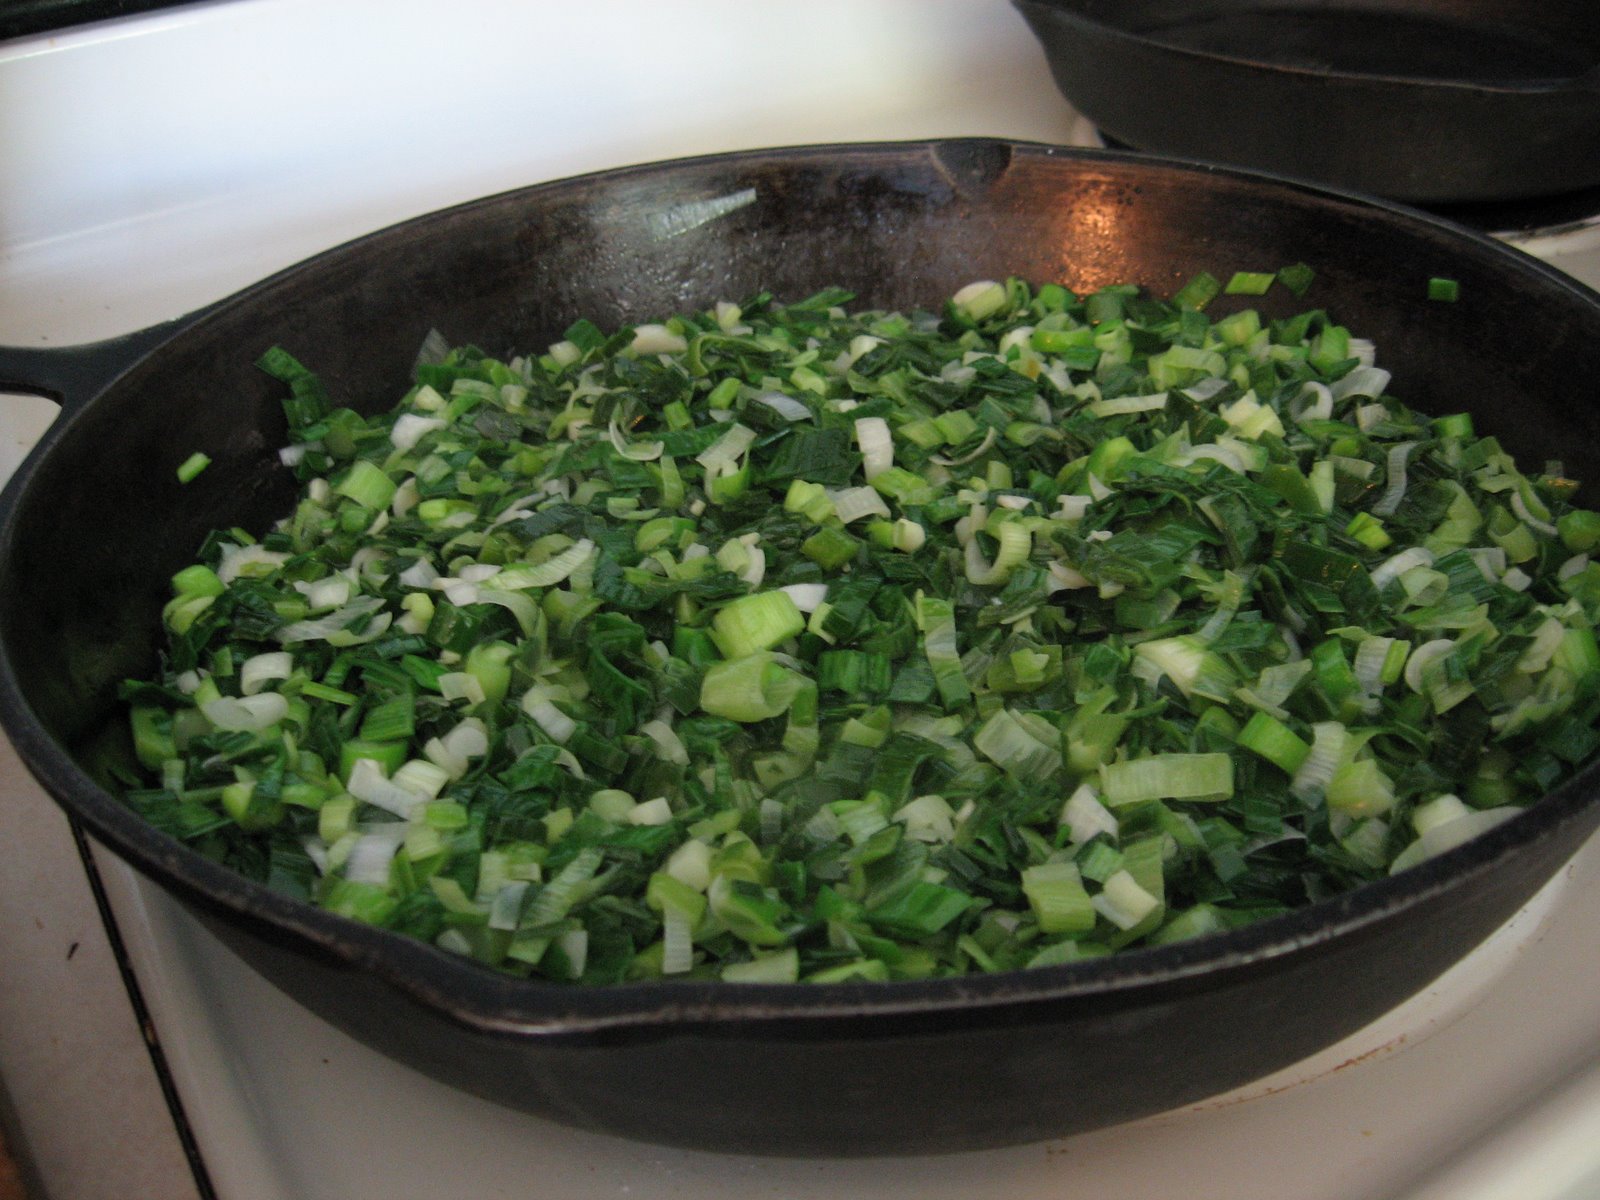
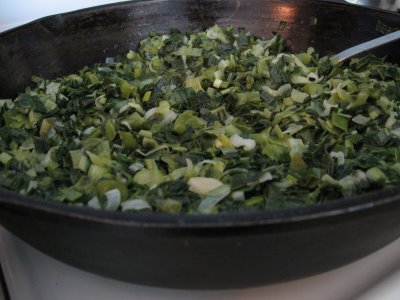
 myself. Leeks need some prep work before you can fully enjoy them.There was my bundle of leeks (the second batch, as I’d neglected to do any documentation of the first) on the back step. These were mostly smaller in diameter than the ones I see in the store, but contrary to the resemblance, they don’t taste like a large scallion, either. And they are dirtier than other members of their family. The next photo was taken a couple of days later, after I took them out of the refrigerator and sliced them lengthwise for cleaning.