This short season between Ascension and Pentecost — it just seems natural to call it Ascensiontide, even though, until we get to Pentecost, we are still in Eastertide. These ten days are a subset, maybe. All this is The World According to GJ, and probably not kosher — oops, I’m getting more faith traditions mixed up in there.
That I am confused is not surprising, considering how wild and unusual my last two weeks have been, with a heavy amount of visiting with several friends and great busyness leading to brain fatigue. Thank God He gave me the strength to enjoy all the extra love and liveliness in the house. So much has been going on, I wanted to give a brief report of highlights.
 |
| plants still waiting to go into the ground…. |
Rain. It kept us from going on the walks I had anticipated, and also relieved everyone of irrigation duties.
 |
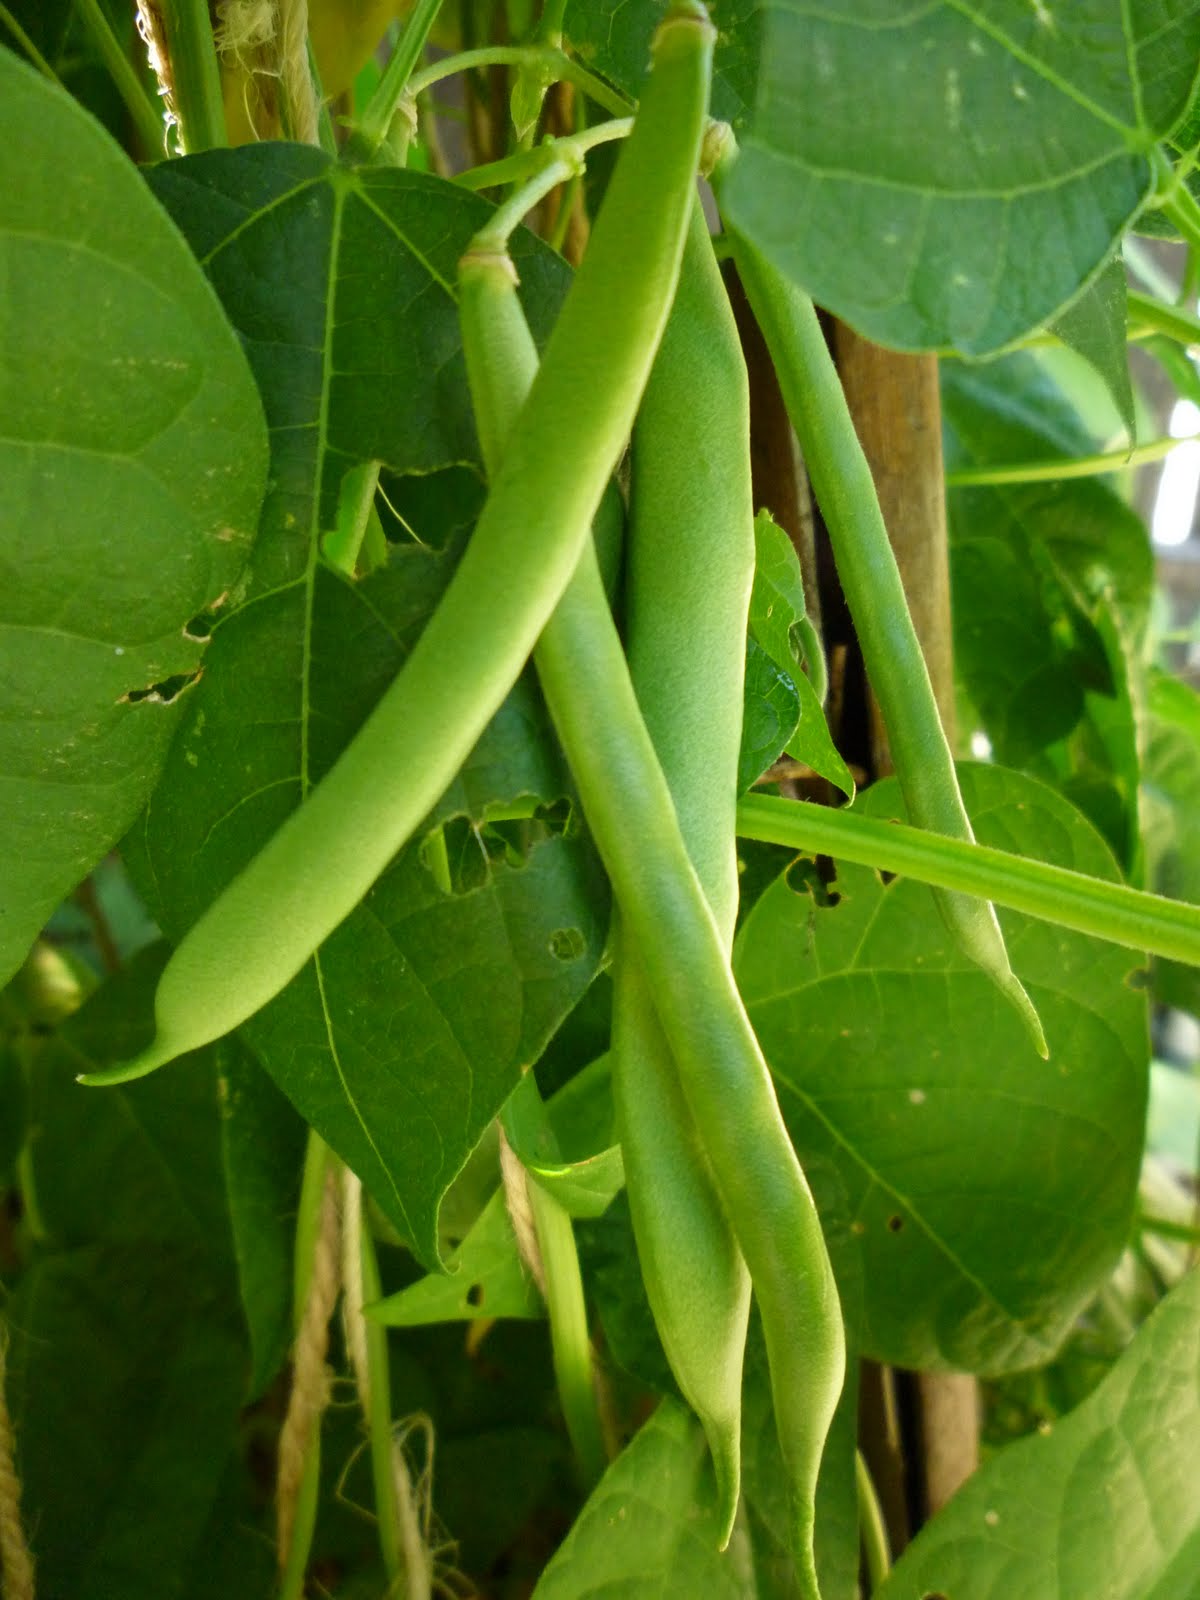
| blue lake pole beans |
Very odd to get so much rain here in California the first week of June. Most plants don’t mind it, but the basil looks nigh unto death, waiting for summer. Here are the happy beans instead.
 |
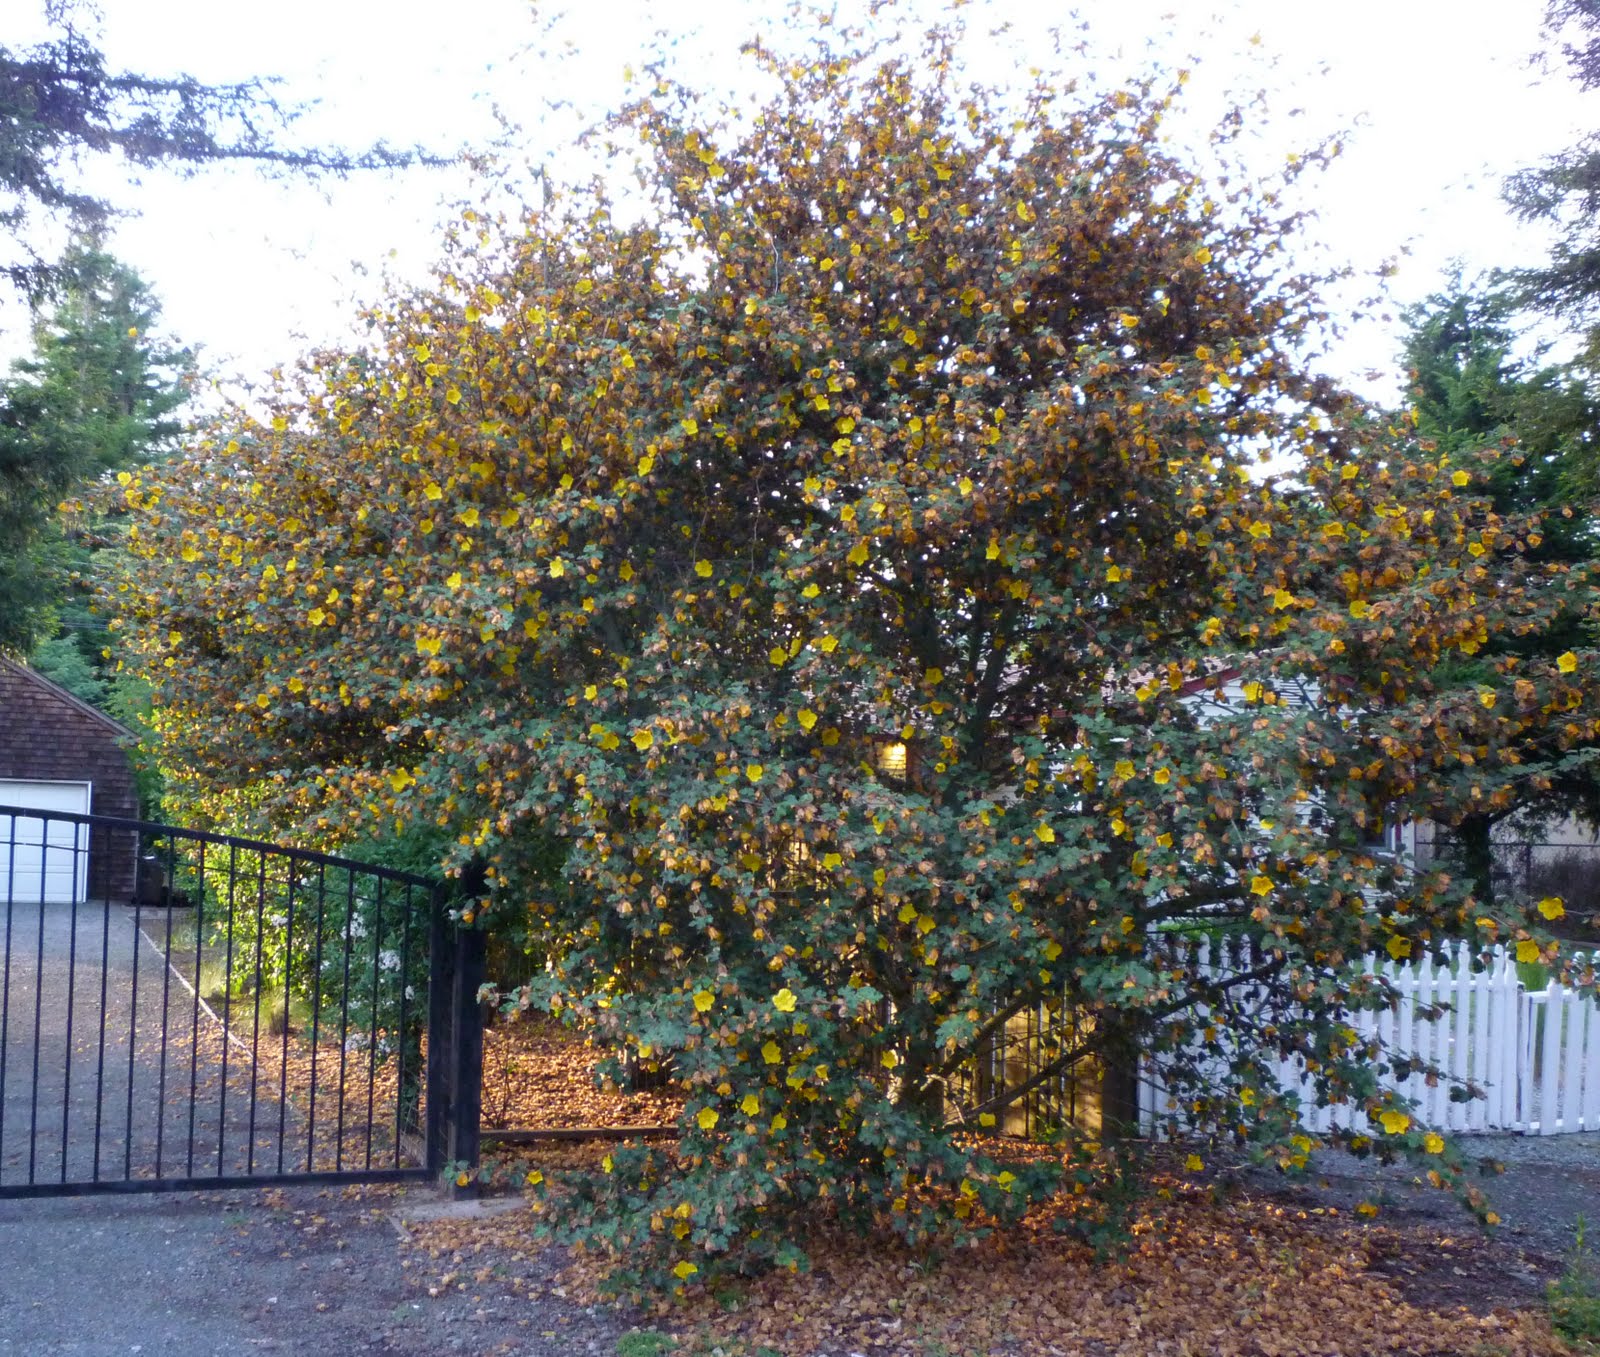
| flannel bush |
Hard as it is to believe, it appears that the rain has finally ceased. No one dared complain about last week’s lack of blue skies, here where an excess of water can can only be counted a blessing, and where tornadoes are rare.
My friend May and I drove over the mountain several times to see our elderly friend Jerry.
 |
| close-up of bush |
Hail battered my car on one of our trips to his house, but on the way home later on we saw a bush we didn’t recognize by the side of the road and stopped to get its picture. Can anyone identify it right off? [I since have learned it is flannel bush.]
 |
| Jerry’s walnut tree and vineyard |
Jerry and his late wife lived all over the world before settling in wine country to try their hand at being vintners, and they brought seeds and plants from many countries to plant here. It’s sad, though, to see the garden in disarray, lacking the care of Mrs. Jerry.
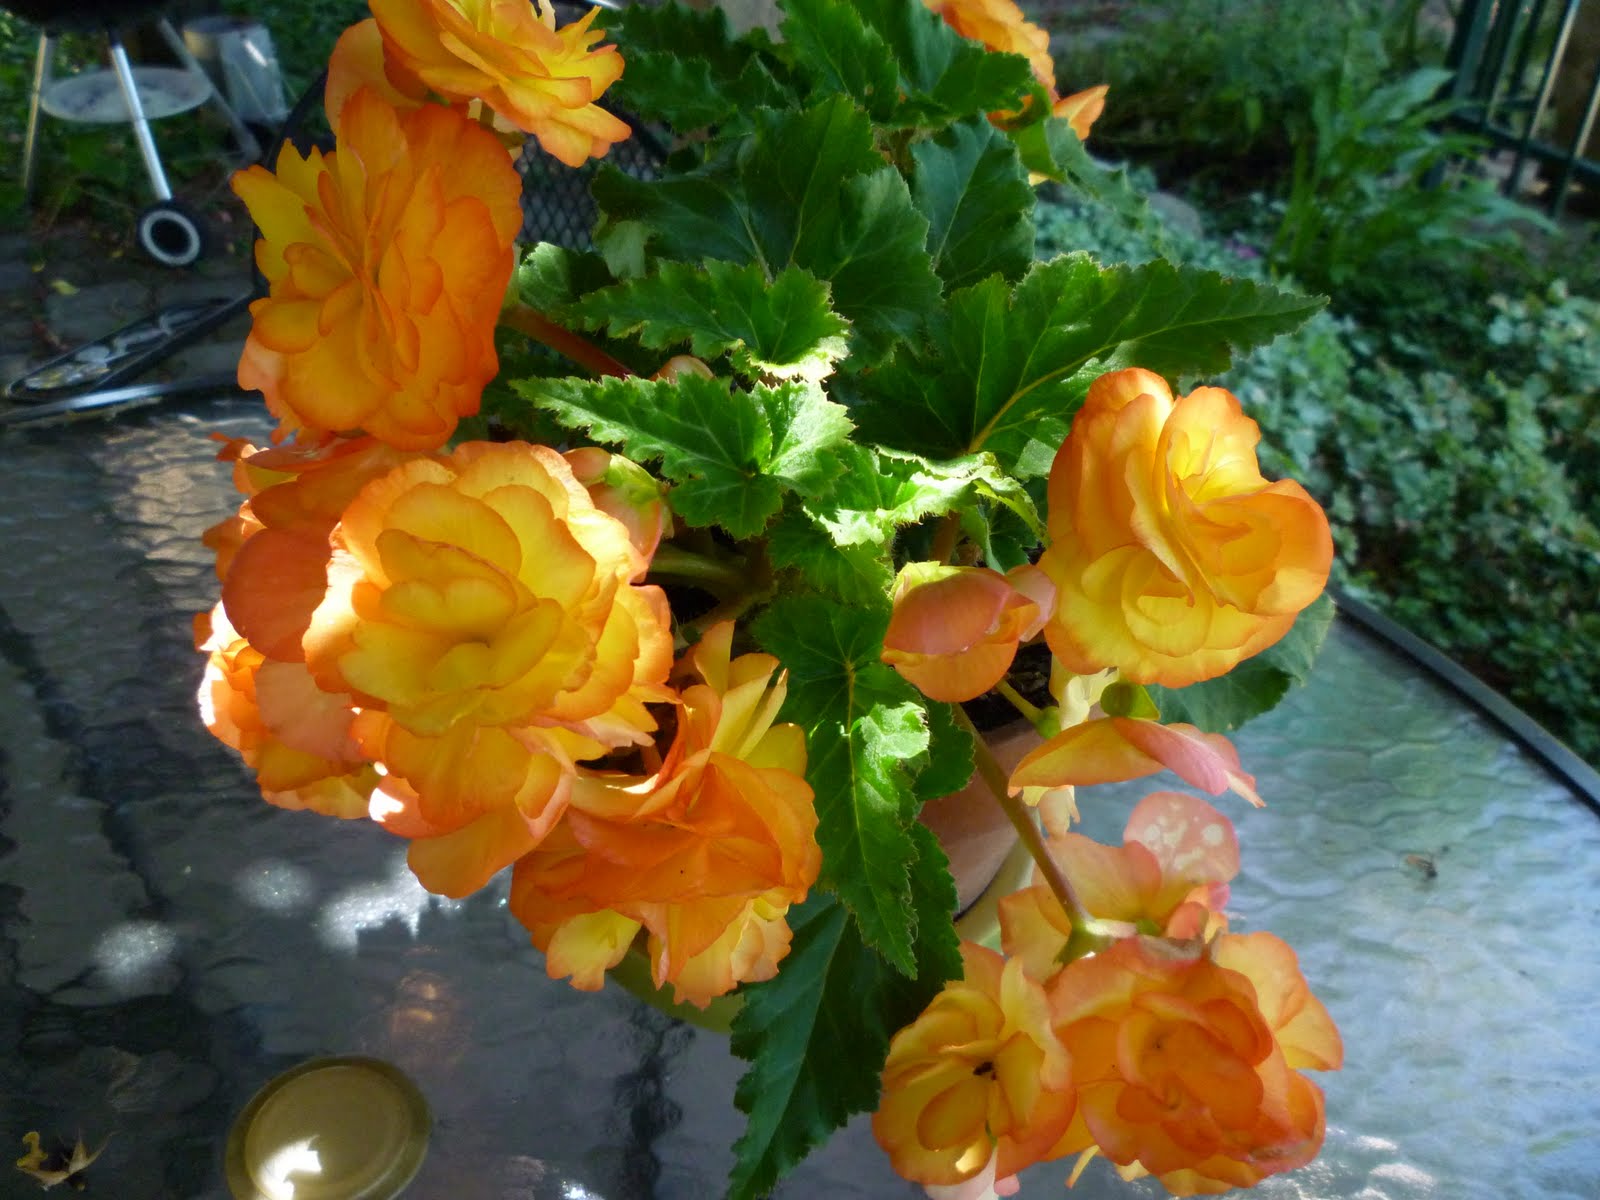
Some flowers and trees keep going in spite of neglect, like these orchids, which grow outdoors through the winter.
 |
| toasted sesame seeds |
I had fun cooking for extra people. We ate Lemon Pudding Cake with Raspberry Sauce, and some Sticky Rice with Mango. Also fresh oatmeal bread, and Duk Guk, a soup whose name does not make you think nice things, but Guk is the word for the odd Korean rice cake ingredient that I like a lot — so much that I probably should not keep it in the house.
I toasted sesame seeds to make Lemon Sesame Dressing for the piles of green salad everyone consumed. Maybe after Pentecost I can post some recipes.
 |
| through the monastery gate |
 |
| koi pond at monastery |
In the evening of the Sunday between Ascension and Pentecost, I went to the Holy Assumption Monastery for a Family and Friends event.
First there was a lecture on “The Power of Bones,” referring to all the Bible references to the health that can be in our bones, and to the proper and reverential treatment of human bones. It was a prompting for us to consider in light of Holy Tradition our often irreverent modern funeral practices; I’m sure that in the future I’ll have more to say on this general topic that pertains to all of us.
Not long ago Gumbo Lily posted a blog about where her blog name comes from — it’s actually the name of a flower that grows on the prairie. For her I am putting up this picture of the cousin to her gumbo lily, our Mexican Evening Primrose that grows happily in a rocky spot between our driveway and the neighbor’s. It gets by in the dry summer with only a couple of waterings, but it didn’t mind the good Spring soaking.
 |
| Mexican Evening Primrose |
I can’t tell about Ascensiontide without mention of the rejoicing to my spirit from having the festal hymns playing in my mind ever since last Thursday. In our daily prayers we have left off beginning with, “Christ is risen from the dead, trampling down death by death…,” and we aren’t yet returning to, “O Heavenly King, the Comforter, the Spirit of Truth…,” because we are still looking forward, liturgically, to the descent of the Holy Spirit.
So we are singing, during these ten days, about the event described in this way: “And it came to pass, while He blessed them, he was parted from them and carried up into heaven. And they worshiped him, and returned to Jerusalem with great joy.” (Matthew 17) The troparion hymn goes like this (now imagine me waking to it and falling asleep in the same joy!):
Thou hast ascended in glory, O Christ our God,
Having gladdened Thy disciples
with the promise of the Holy Spirit;
And they were assured by the blessing
That Thou art the Son of God,
the Redeemer of the world!