It’s Cheesefare Week, a.k.a. Butter Week, for Orthodox Christians, this week before Lent. That prompts me to post this recipe again, for Brazilian Cheese Rolls. Maybe you have found them in the freezer aisle of Trader Joe’s or elsewhere in recent years, but they are easy to make at home. They are full of eggs and cheese, and gluten-free, because the starchy component is tapioca flour. I am fond of the mochi texture, and will likely enjoy a few this week.
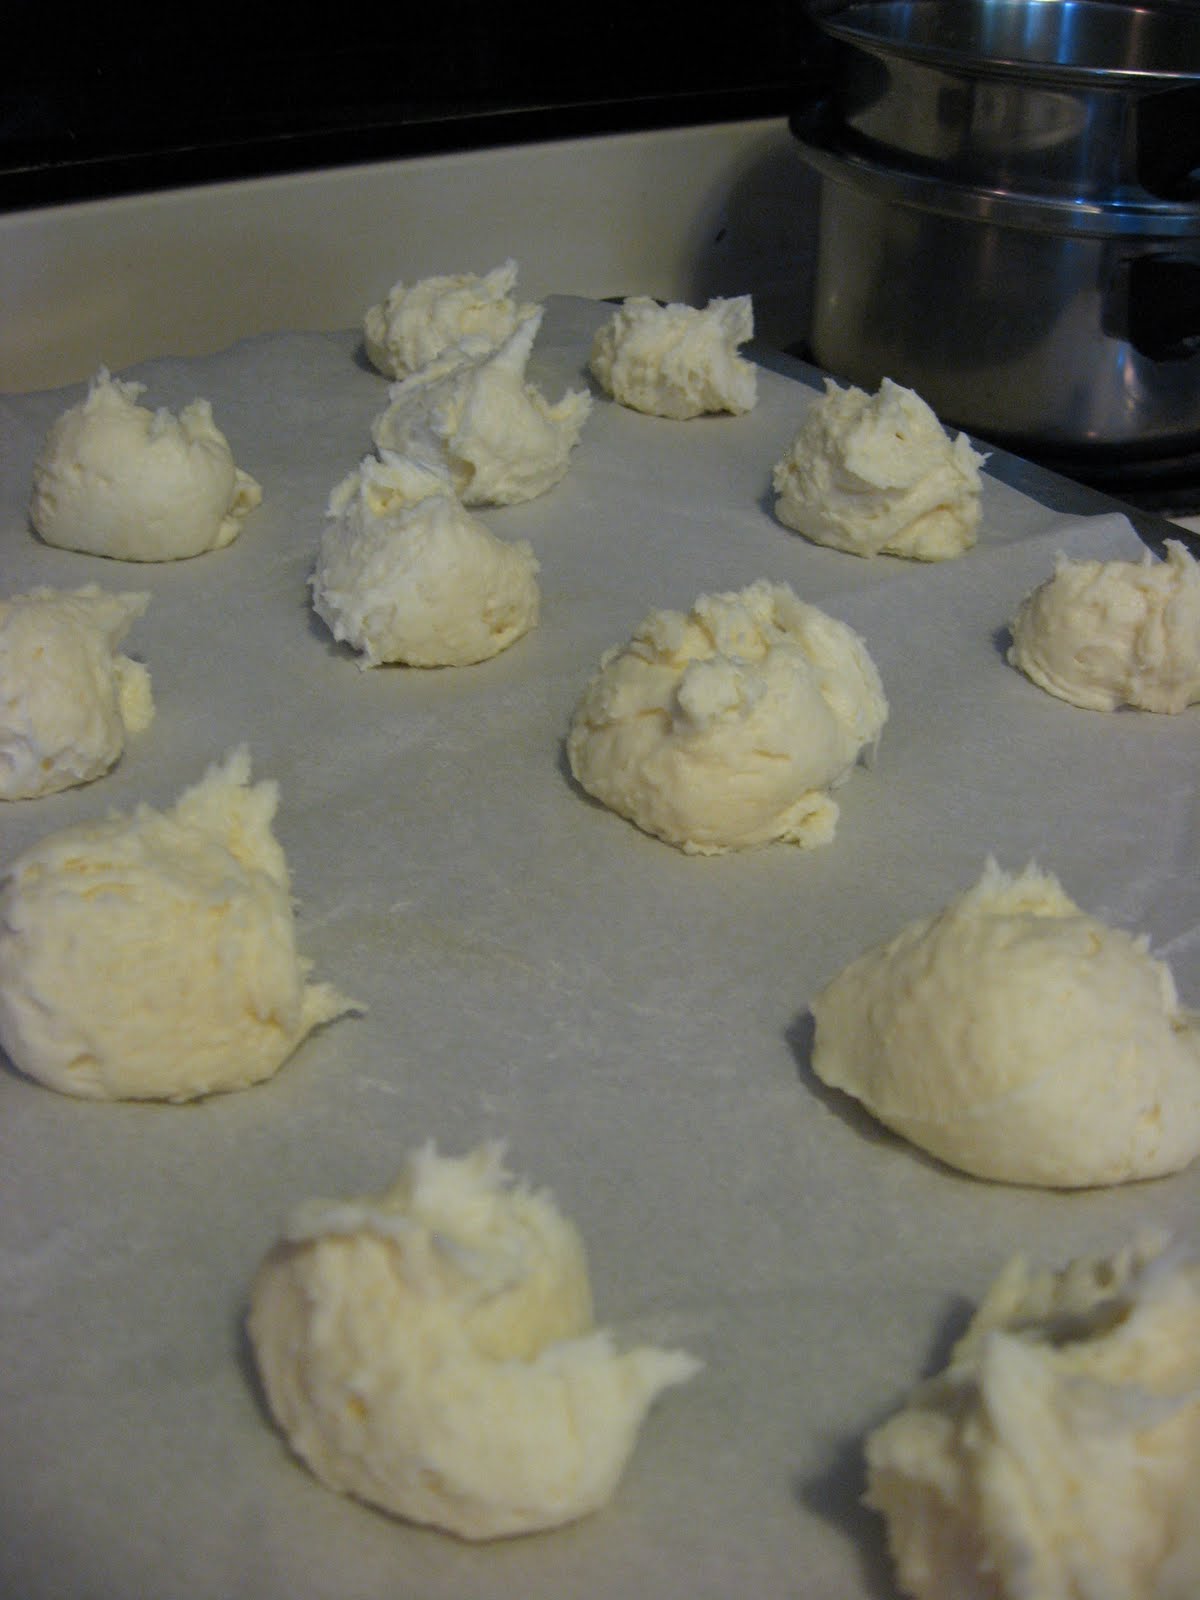
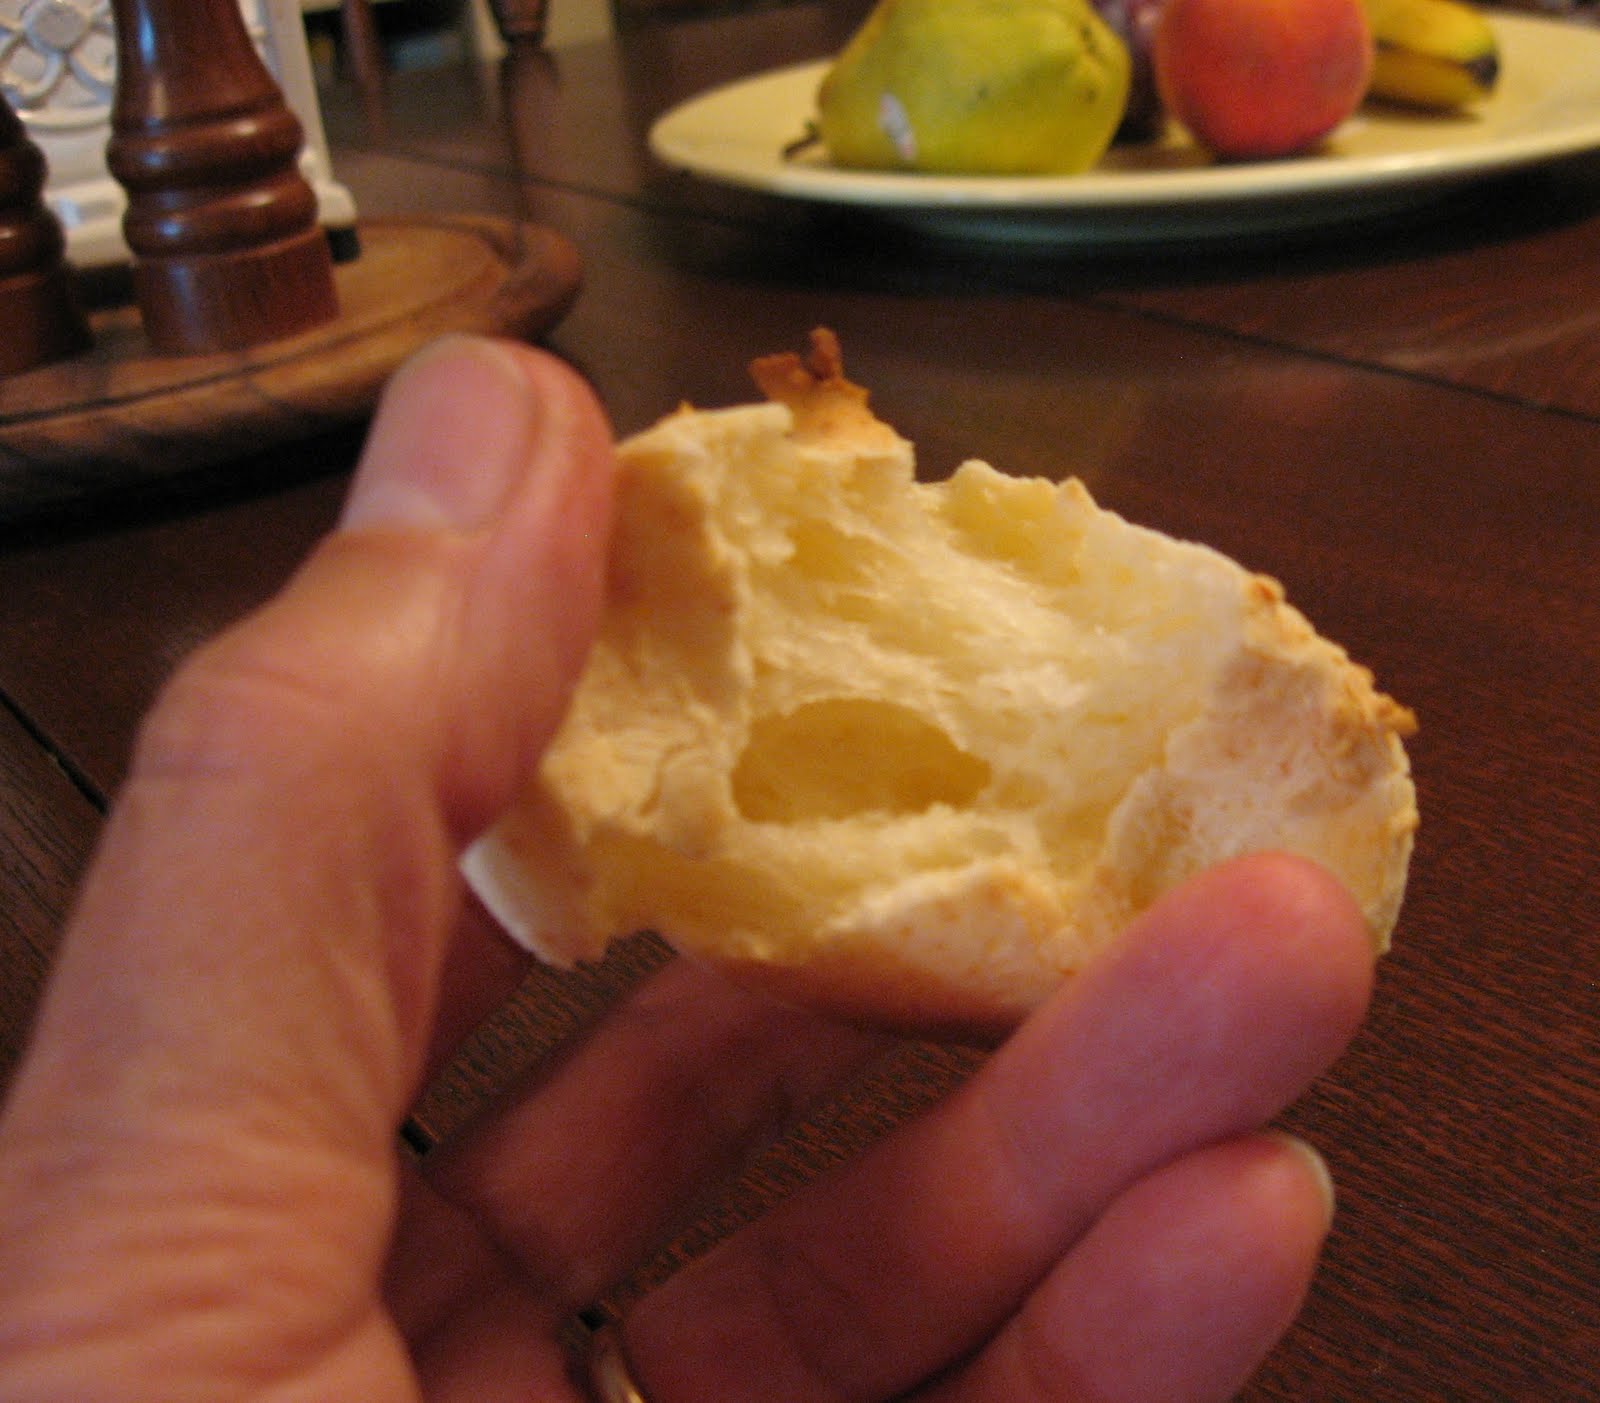
I’ve copied below what I found on the website years ago, and also linked to the site, where the author shares some of the culture behind the eating of these rolls in Brazil, where they are very popular, to put it mildly, and often eaten for breakfast. The pictures are of my own results.
Pão de Queijo
There seems to be widespread consensus that these are quite tricky to make, but I didn’t find this to be the case. One thing I would recommend is to measure the tapioca starch by weight if you can, which is infinitely more reliable than by volume. If you do measure by volume, note that I use the lightly-aerate-then-scoop-and-level method. In the recipe I’ve given some clues as to the texture you’re aiming for in the dough – the important thing to note is that it should not actually be firm enough to make balls, but rather soft, misshapen little mounds. If you’re worried, you can always test-bake a couple to see if they puff up like they should. As for the tapioca starch/flour, you should be able to locate some in an Asian or other ethnic market (where you might find it under the names yuca, manioc, cassava or polvilho azedo/doce, any one of which will fit the bill), or any place that stocks gluten-free baking supplies.
yield: 20-30 rolls, depending on size
source: adapted from Valentina and other online sources
4 cups (500g) tapioca starch (aka polvilho, yuca, manioc or cassava flour/starch), plus more if needed
1 1/2 teaspoons salt
1 1/2 cups (375ml) milk
1/2 cup (115g/125ml) unsalted butter or vegetable oil (oil is traditional, butter gives more flavor)
2 eggs, at room temperature
7oz (200g) finely-grated parmesan cheese
 In the bowl of your heavy-duty stand mixer* combine the salt and tapioca starch. In a saucepan combine the milk and butter and bring to a boil, stirring occasionally to prevent scorching. Fit your mixer with the paddle attachment, turn on medium-low, and begin drizzling in the hot milk mixture. At first it will all clump up, but keep drizzling in, stopping and scraping down the bowl and paddle as necessary, until it comes together and forms a smooth, thick, gluey dough. Beat for a minute or two, then turn the mixer off, cover the bowl with a cloth and let rest for 15 minutes, or until just warm to the touch.
Preheat the oven to 425F/210C. When the dough has cooled down a bit, turn the mixer to medium speed and add the eggs one by one. When they are completely incorporated add the cheese and mix for another minute. The dough should have a sticky, stretchy consistency somewhat like spent chewing gum (but a little softer). It shouldn’t be firm enough to roll into balls, but it should be firm enough to hold its shape on a spoon. Add a bit more starch or a splash more milk if needed.
Line two large baking sheets with parchment paper. Using a well-greased spoon (or a couple of spoons, or a spoon and your hands – whatever works), drop mounds of dough about the size of unshelled walnuts onto the sheets, spacing them at least an inch (2.5cm) apart. Don’t worry if they are not perfectly shaped, or if the surfaces are not smooth – in the heat of the oven the irregularities will melt away. Bake them for about 20-25 minutes, rotating the baking sheets halfway, until they’ve puffed up nicely and are golden brown in spots. Remove immediately to cooling racks and allow them to cool slightly before eating. The recipes say to enjoy them warm, but I liked them at room temperature as well – the texture is slightly different but still very good.
(*I don’t think I’d trust a handheld mixer to confront this sticky, viscous dough and survive, but it can be mixed by hand in a large bowl with a sturdy spoon – just be prepared for a good workout!)
https://travelerslunchbox.com/2007/02/04/list-making-for-dummies/
 I was searching for a different recipe when I ran across this one for brownies, which I decided to take to a potluck last week. In reading the comments on the recipe, on the New York Times cooking site, I came upon the question of whether one could use “regular” cocoa powder instead of cacao in this recipe. Because the spelling is so similar, I hadn’t even noticed that the recipe called for cacao. Cocoa is what I always keep in my cupboard, so I needed to know.

 In this post I will share two recipes I’ve had waiting in my Recipes-to-Try folder, and recently did get around to. I loved them both.