
This month I had two occasions when friends visited me for one or two nights, two different friends each time. It was fun to have people to cook for. About an hour before the first pair of guests were to arrive I found out that one of them couldn’t eat the bread I had planned to serve with soup, because of gluten intolerance. I have just enough time to make muffins, I thought, using Bob’s Red Mill gluten-free flour again. I mixed up the wet ingredients, and then — could not find that flour anywhere.
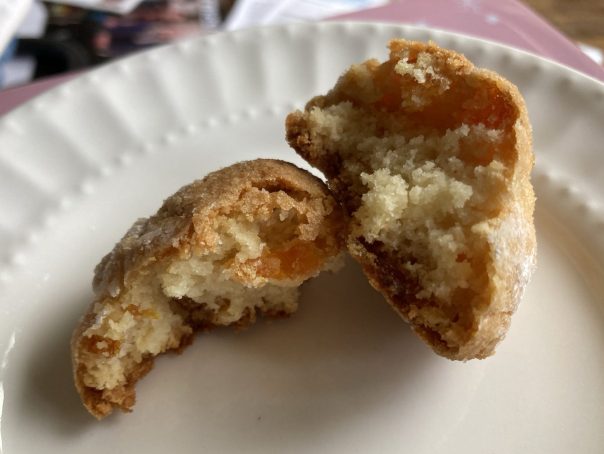
Though I rarely bake anymore, I have a dozen sorts of flours in a refrigerator in the garage. I rummaged through those and decided to use one cup of cassava flour and one cup of buckwheat flour. The latter was the sort one would use for buckwheat pancakes, that is, from roasted groats. Some people don’t like that flavor, so I was taking a chance that my guests would.
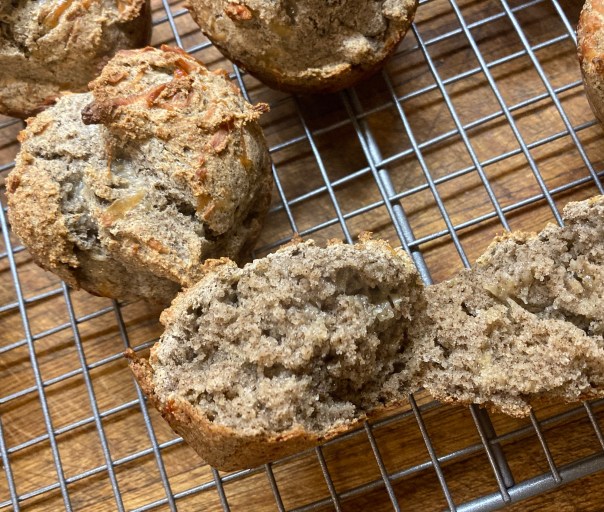
The muffins turned out very nice, we all thought. But the cassava flour is a little heavy, and I think if I try this again, I’ll use more buckwheat and less cassava. That very evening I discovered the missing flour, in the wrong refrigerator.
The last time I made pancakes I did not use buckwheat flour, but I did use this beautiful batter bowl that I received as a Christmas gift. It holds an amount of batter that is just right for one person, and its presence on my kitchen counter has encouraged me to make pancakes for just myself, for the first time ever.

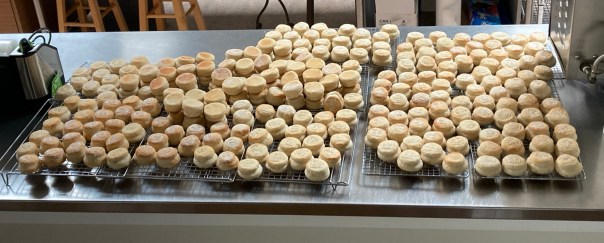
Another type of bread I helped to bake recently was the little prosphora that our parish uses as one type of altar bread at Divine Liturgy. That day we only made these small ones, and two people prepared dough. One of the dough makers used more flour than usual, and we ended up with a record number of prosphora — so while they were cooling I took their picture:
Lent is coming right up — for us Orthodox it begins on Monday. Many people I know like to choose some “spiritual reading” for Lent, and I have done that many times. Our women’s book group has often chosen a book to read together and discuss after Pascha. But this year we didn’t; we still haven’t discussed the last book we chose, to read during Advent.
At one point I thought I would read The Seer: The Life of the Prophet Samuel and its Relevance Today during this season. And then I looked around my house and noticed so many other worthy titles. Maybe I would cast lots among these below, and let God decide for me:

But the finality of that action frightened me. It’s not likely that I will finish any of these big books during Lent anyway, because I always seem to use any extra time to attend the lovely Lenten services at church. So in the end I decided to read (from) all of them, and I’ve stacked them up next to my reading chairs as my Lenten Library; my plan is to read at least a little from one or two of them every day. Being goal-oriented does not come naturally!

The last couple of days have been sunny at times, and the weeds in the garden are getting my attention, as they grow like weeds in springtime. So I got out there and pulled a bunch. I try to keep a thick layer of mulch on my garden to prevent weeds, but I guess I got behind in adding to that layer. I’m hoping to do that this week.
The anemones and crocuses that I planted at the end of November are starting to bloom, and the muscari and daffodils are showing leaves; obviously so late in the fall was not optimal for getting them in the ground. One reason I got busy weeding was to make sure they won’t be hindered from lifting their pretty faces to the sun. Of course, it’s good for me to do that with my own face when I get the chance, and I trust that will be the case more and more as springtime unfolds, in the earth and the air, and in these anemones.

 It’s Cheesefare Week, a.k.a. Butter Week, for Orthodox Christians, this week before Lent. That prompts me to post this recipe again, for Brazilian Cheese Rolls. Maybe you have found them in the freezer aisle of Trader Joe’s or elsewhere in recent years, but they are easy to make at home. They are full of eggs and cheese, and gluten-free, because the starchy component is tapioca flour. I am fond of the mochi texture, and will likely enjoy a few this week.
 In the bowl of your heavy-duty stand mixer* combine the salt and tapioca starch. In a saucepan combine the milk and butter and bring to a boil, stirring occasionally to prevent scorching. Fit your mixer with the paddle attachment, turn on medium-low, and begin drizzling in the hot milk mixture. At first it will all clump up, but keep drizzling in, stopping and scraping down the bowl and paddle as necessary, until it comes together and forms a smooth, thick, gluey dough. Beat for a minute or two, then turn the mixer off, cover the bowl with a cloth and let rest for 15 minutes, or until just warm to the touch.
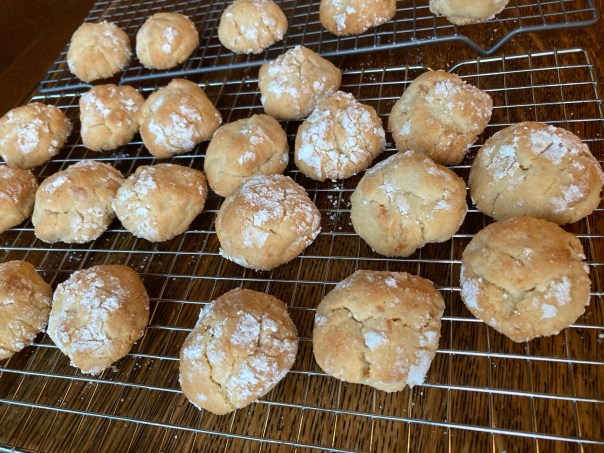
 I was searching for a different recipe when I ran across this one for brownies, which I decided to take to a potluck last week. In reading the comments on the recipe, on the New York Times cooking site, I came upon the question of whether one could use “regular” cocoa powder instead of cacao in this recipe. Because the spelling is so similar, I hadn’t even noticed that the recipe called for cacao. Cocoa is what I always keep in my cupboard, so I needed to know.

