Category Archives: food and cooking

Korean Kale Salad

The washer repairman didn’t call, didn’t come, so I was “stuck” at home all day. As I got busy cooking up lots of stuff in the fridge, and harvesting from the garden, and then cooking that, I remembered why I love getting stuck at home. So much gets done, when I get some momentum.

1) I made Ropas Viejas from beef chuck, for filling burritos. This means “old clothes” in Spanish, and is shredded, seasoned meat. We’ll have burritos tomorrow and use that, and I’ll have some to freeze.

2) I made a soup stock from some lamb bones, and took the meat off to add back to the soup.

3) I picked about 20 pimientos and for the first time tried roasting them under the broiler and my, did the skins come off easily. A few pieces I nibbled on like candy, and they were that sweet, and most of them I froze.

4) I made Red Pepper Butter by mixing two of the roasted peppers with sweet butter in the food processor; then I froze it in a jar for something…later.

5) I cut yams lengthwise and brushed them with olive oil, then sprinkled on salt, pepper and fresh rosemary (which I’d just picked from the back yard) and roasted them for dinner.

Then, after dinner, I got around to the kale that I bought a few days ago, and made Korean Kale Salad. This recipe I adapted from one in Sunset Magazine some years back. For number of ingredients, and simplicity of preparation, it is easy. I haven’t run across anyone who doesn’t like this salad. I had the nerve to serve it for Thanksgiving dinner the first time, and the guests were thrilled to have a tasty green vegetable that wasn’t cooked to death.

You start with 12 ounces of curly kale, which should be about a bunch. I haven’t weighed mine before, but I suspect that the bunches are getting smaller, because the salad seemed to get saltier every time I made it. So I reduced the salt in the recipe. If you find that it is not salty enough, you know what to do.

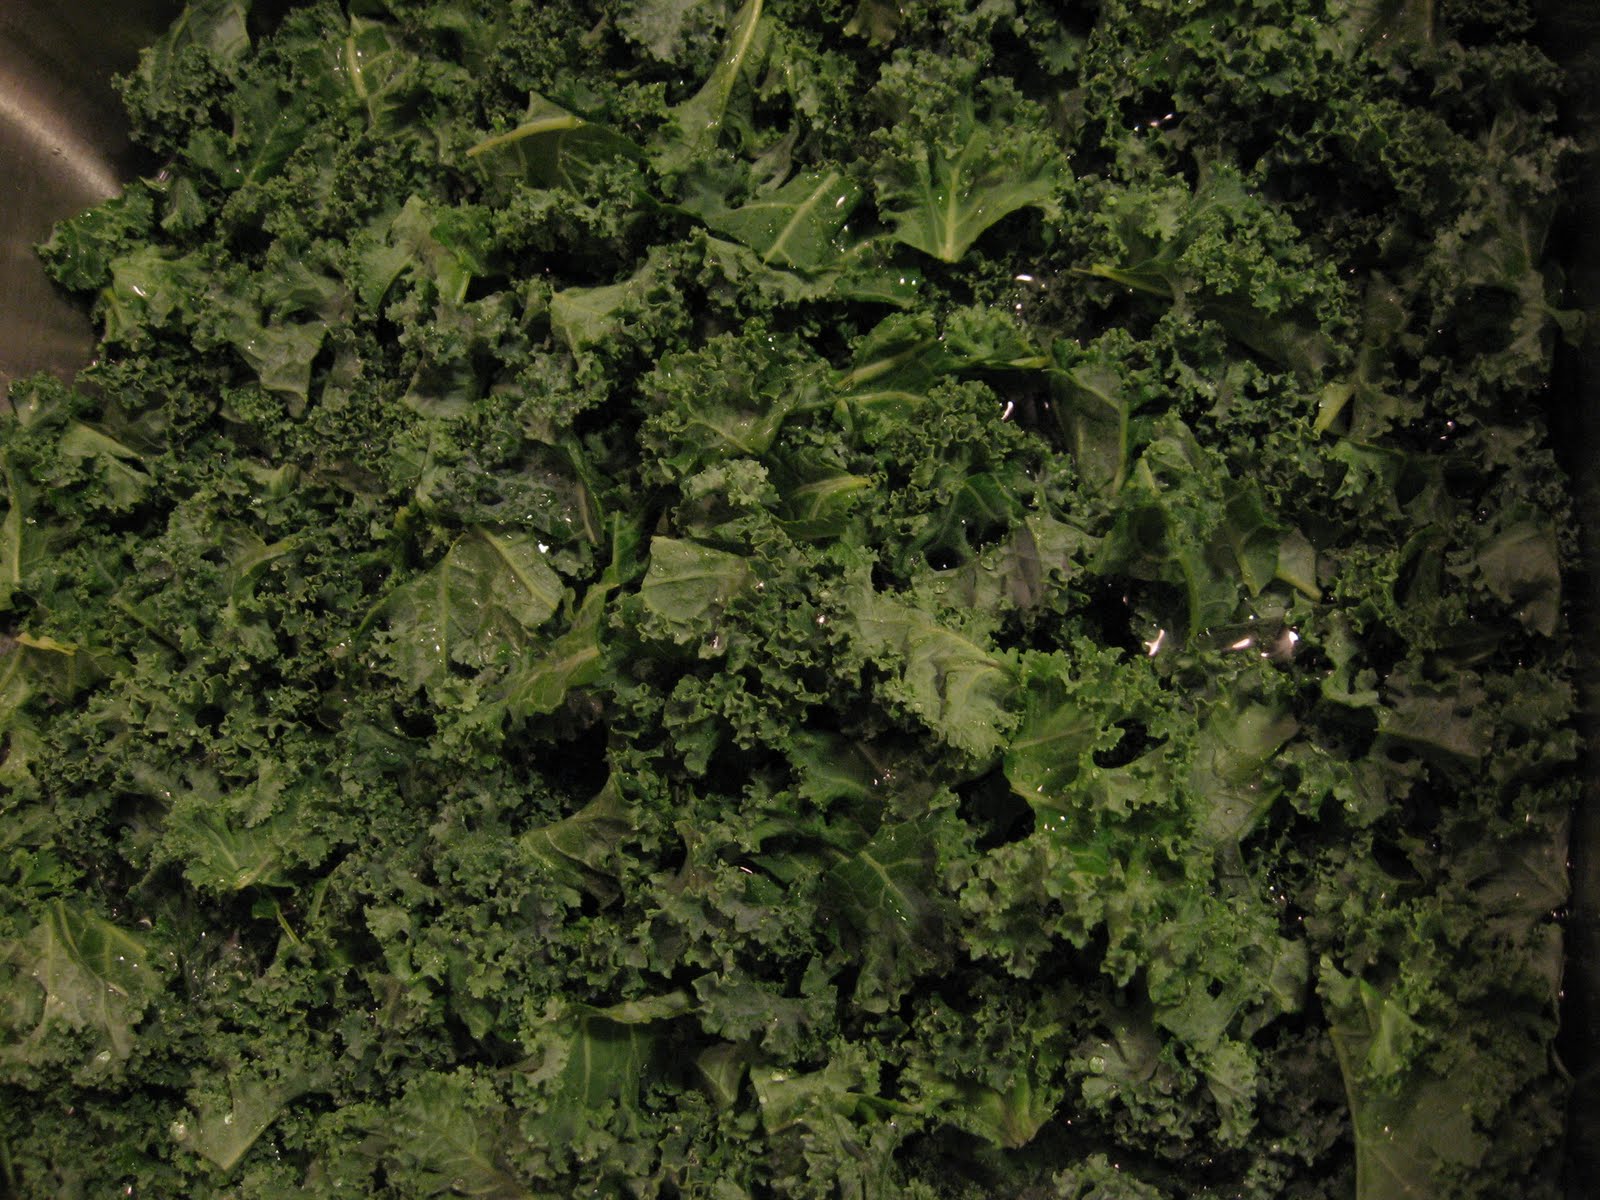
Tear your kale into bite-sized pieces, throwing out the tougher stems and veins. Wash it in a big bowl or the sink. Boil water in a pot and throw the raw kale in. Push it down with a spoon and keep it under the water until it is wilted. The original recipe said 4 minutes but I call that cooked. I blanch mine for 1 1/2 to 2 minutes.

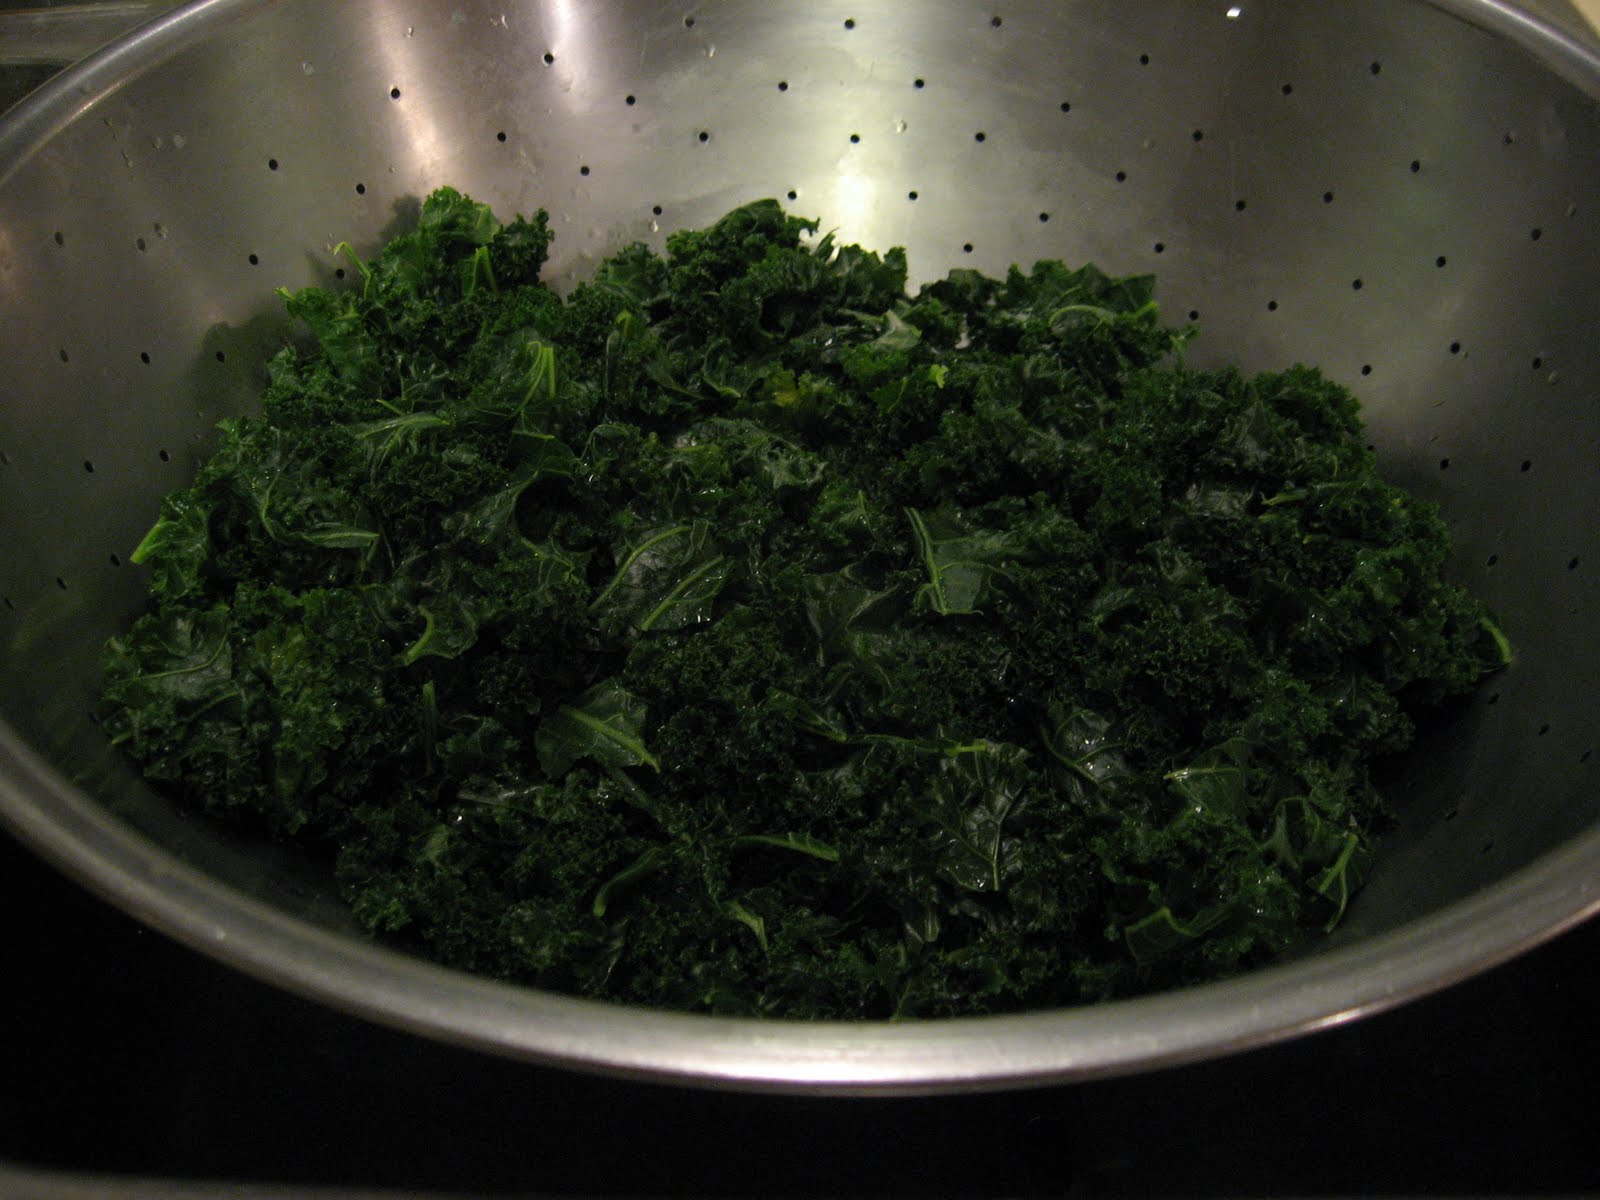
Dump it into a colander and let it drain. I have a huge colander, so don’t let my photos scare you. I doubled the recipe because I have the equipment, and because I can eat a lot of this salad. By the way, a bunch is said to make 6 servings.

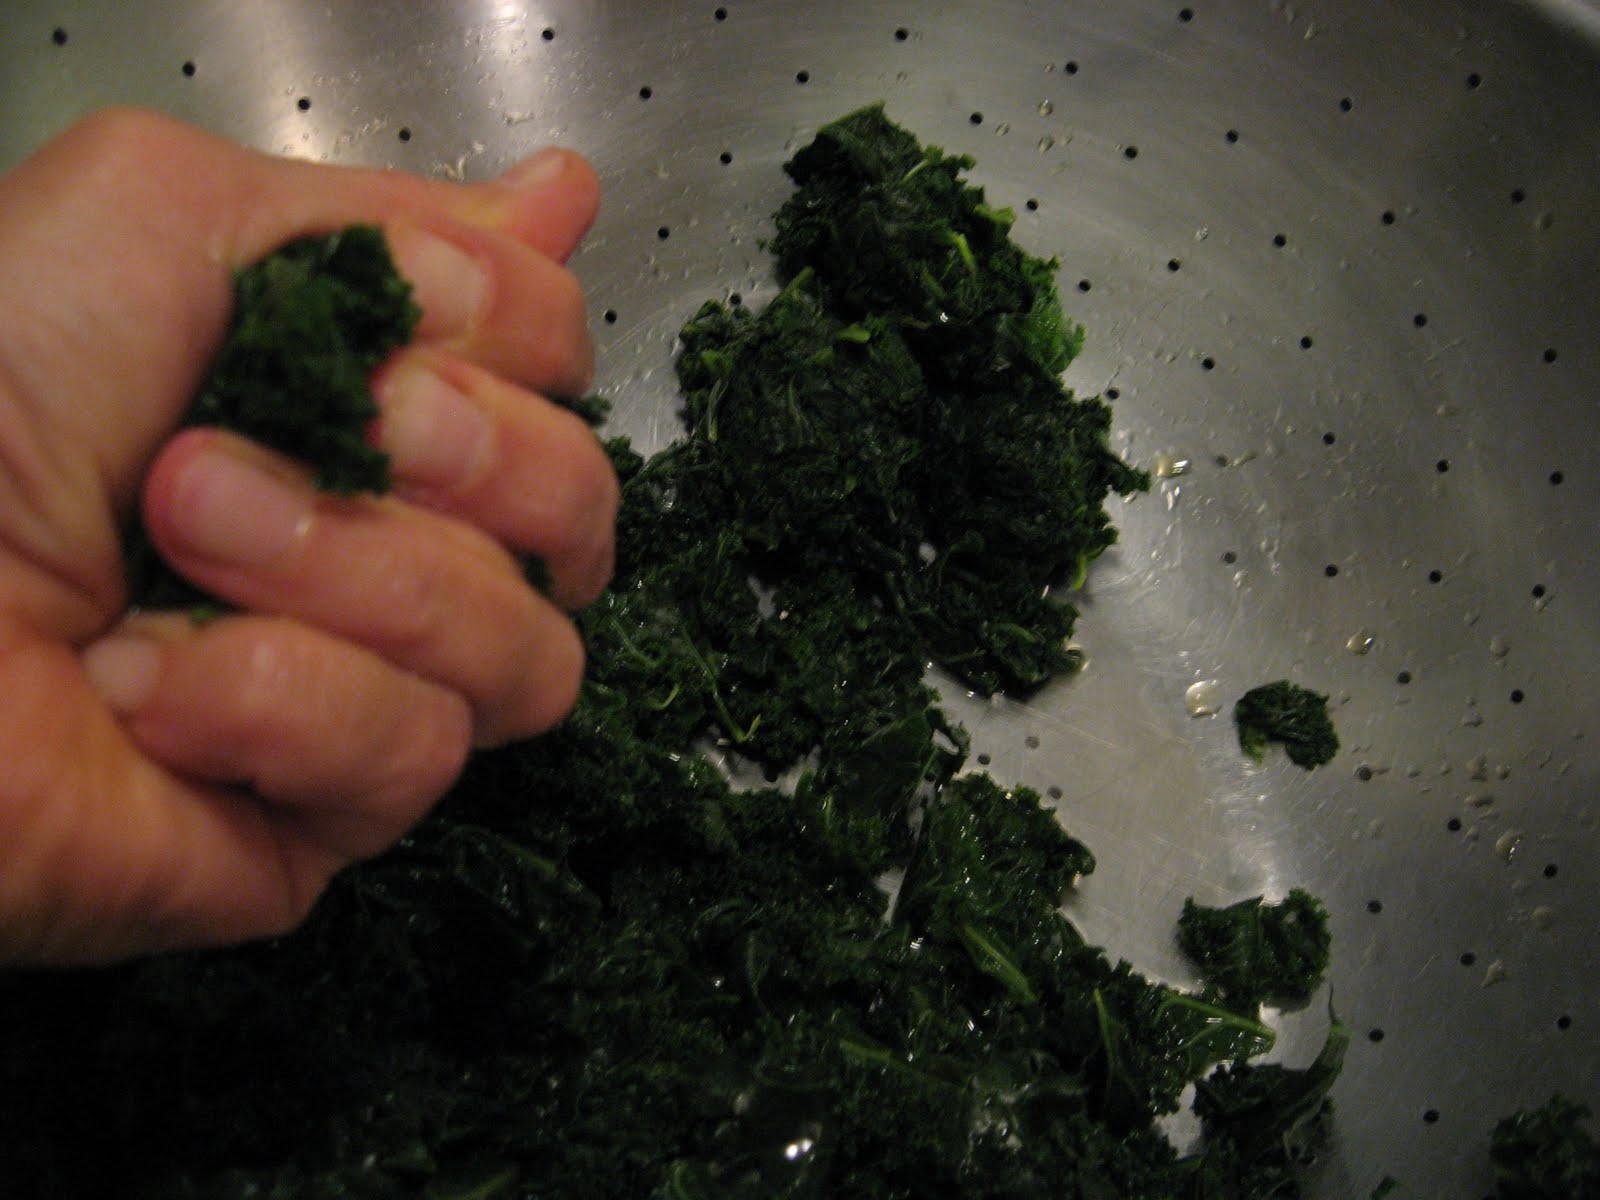
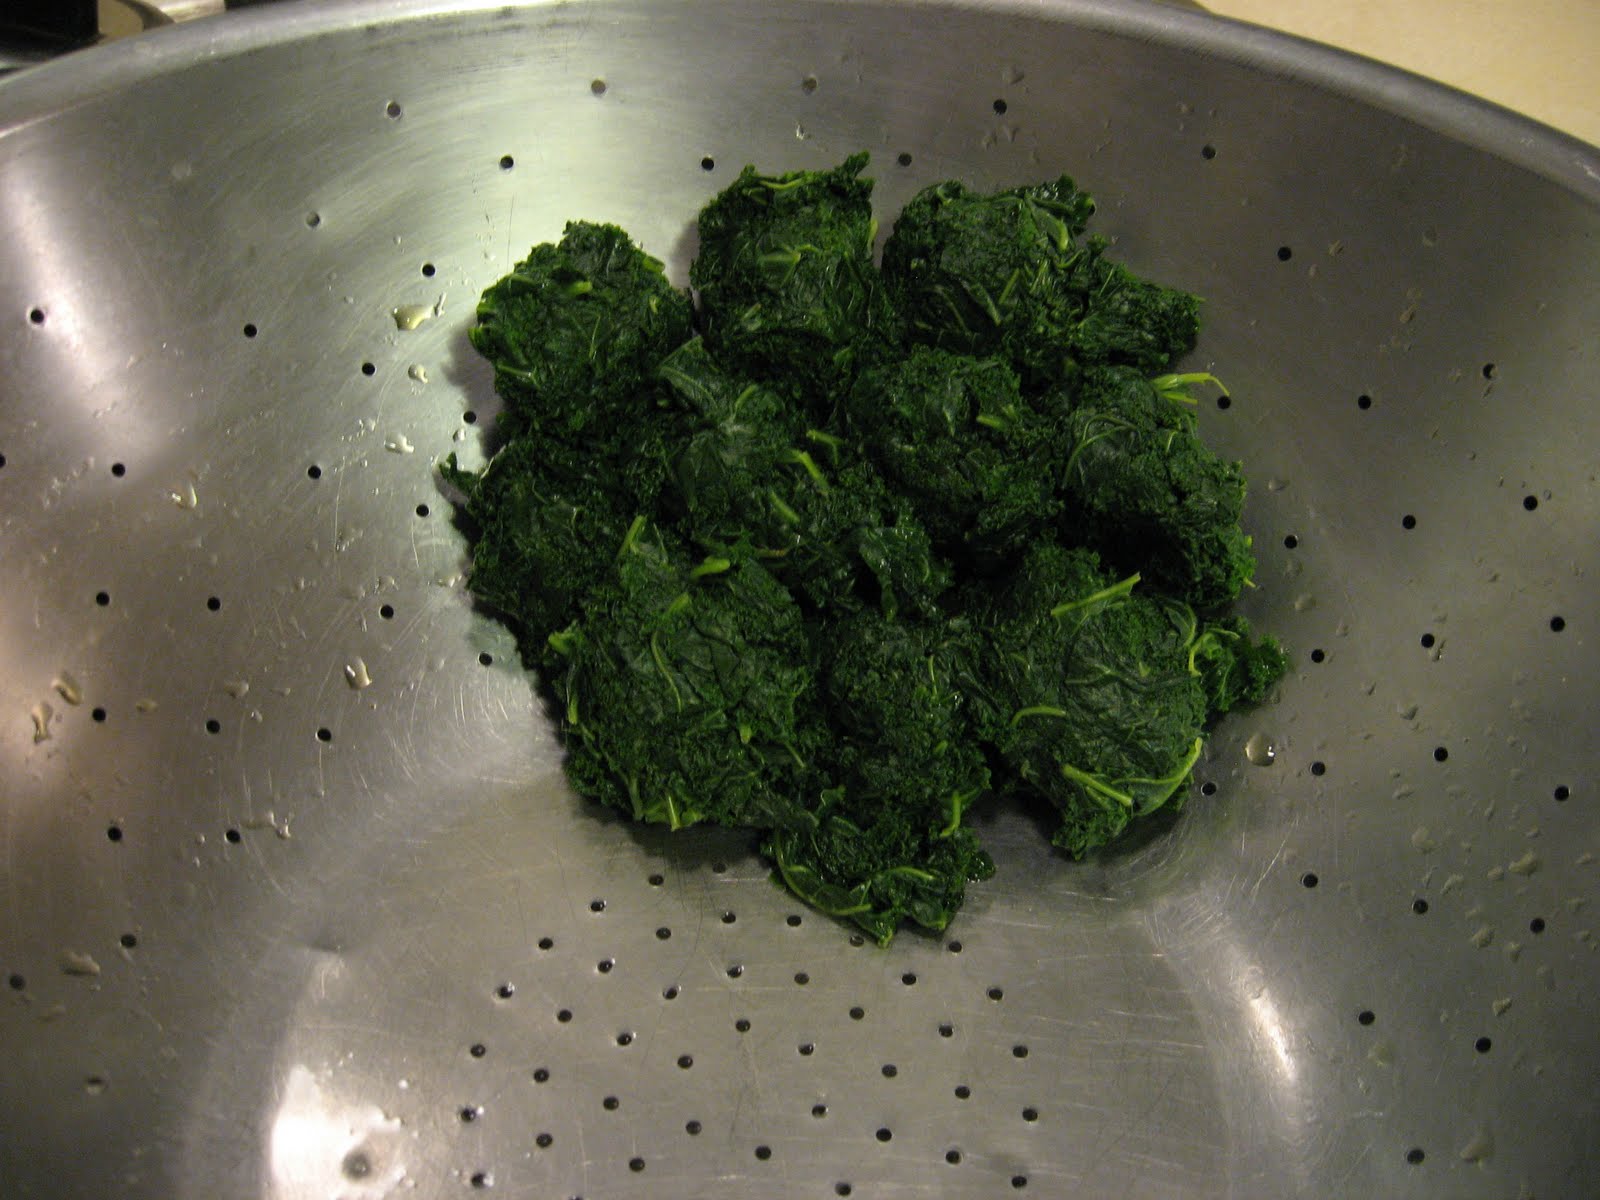
When the wilted kale is cool enough, grab it by bunches
and squeeze all the water you can out of it.


I ended up with 9 or 10 little wads of squeezed-dry kale.

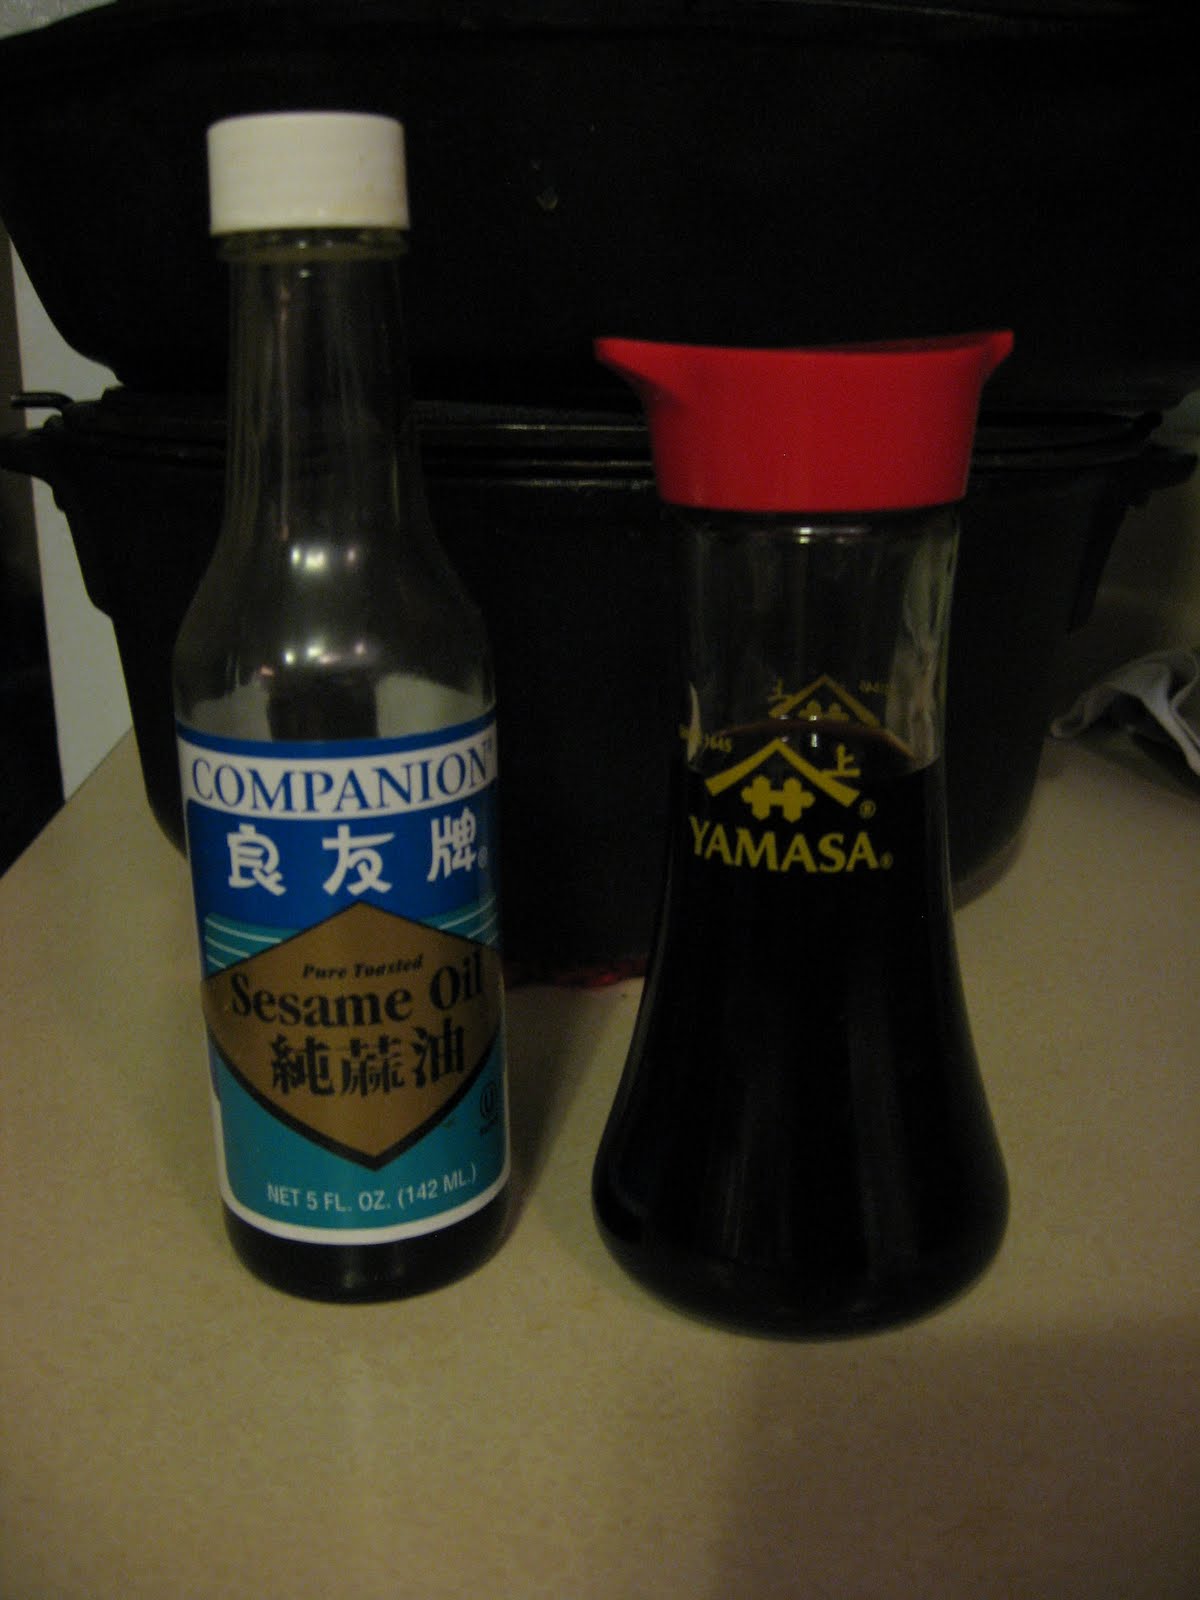
Make the dressing, which has evolved under my culinary direction to consist of 1 tablespoon Asian sesame oil and 1 tablespoon soy sauce.

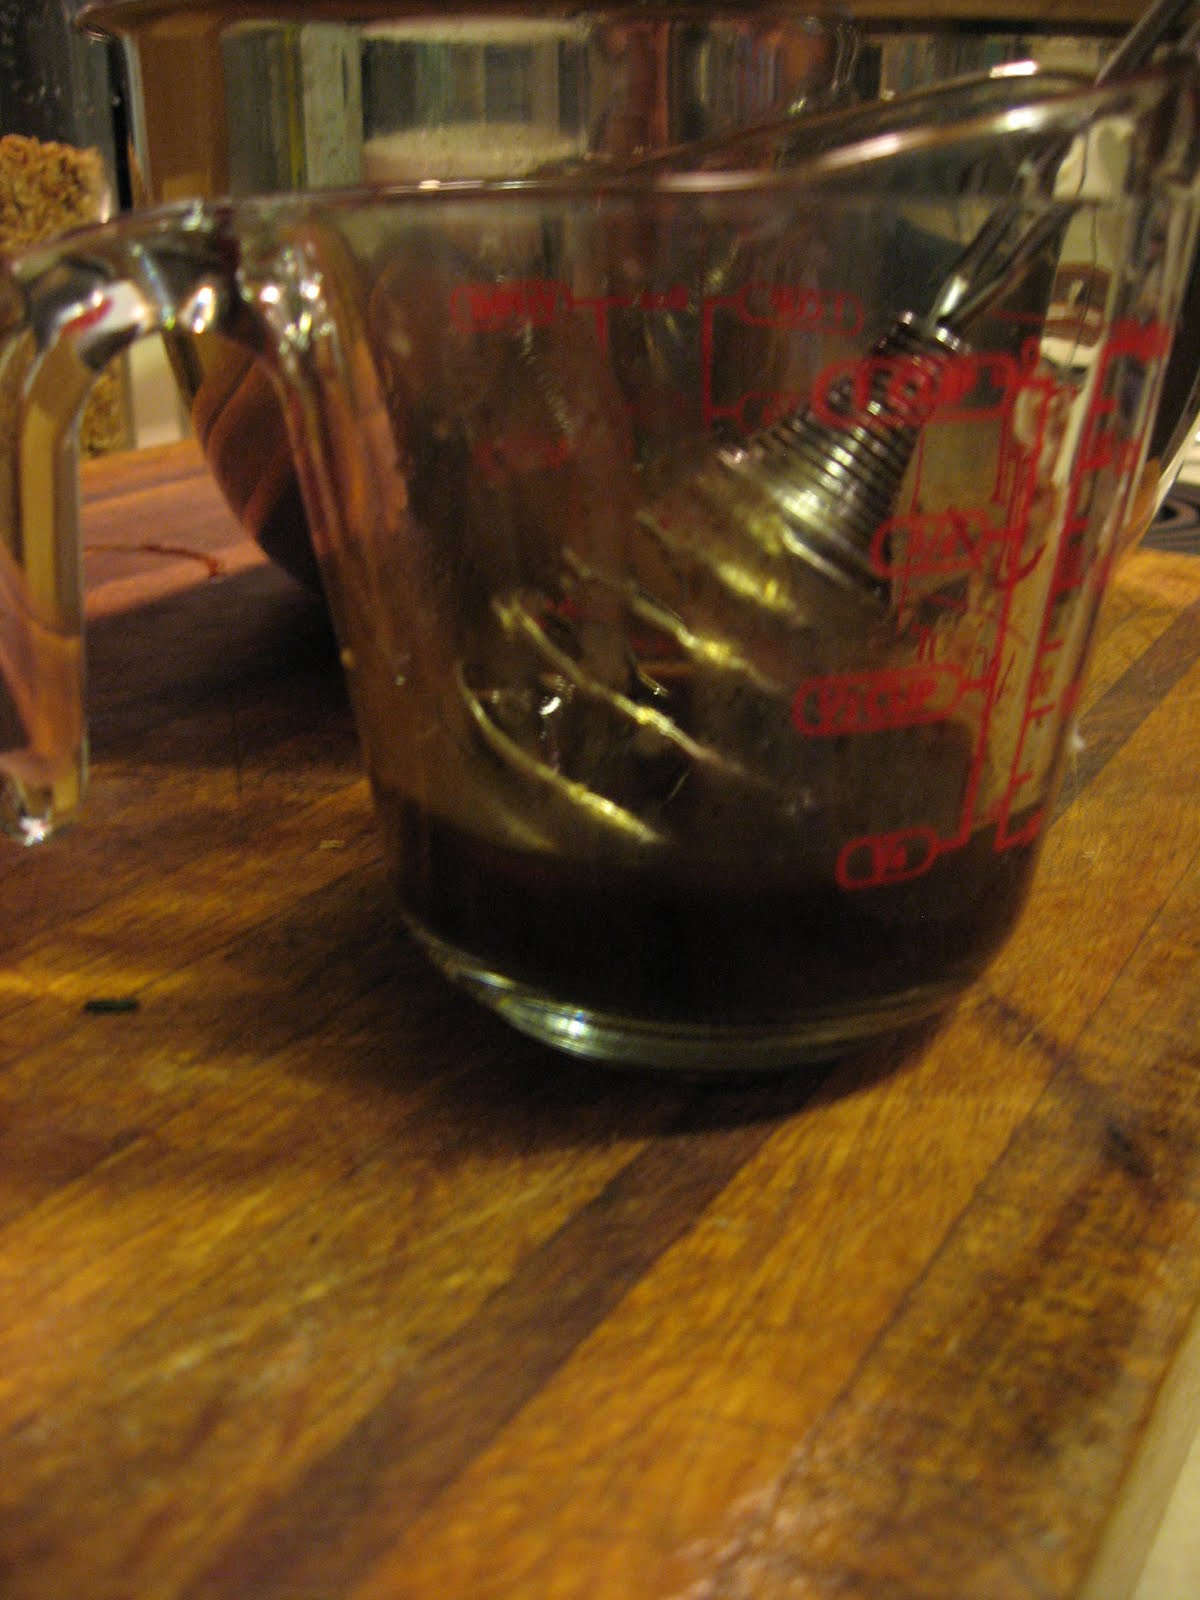
It’s a good idea to whisk the two together in a cup.

Put the kale in a bowl and toss it for a while to open up the leaves again. Sometimes I have to use my hands again at this point, or a couple of forks.

Pour on the dressing and toss another while. It does take some time to get the dressing evenly spread around.

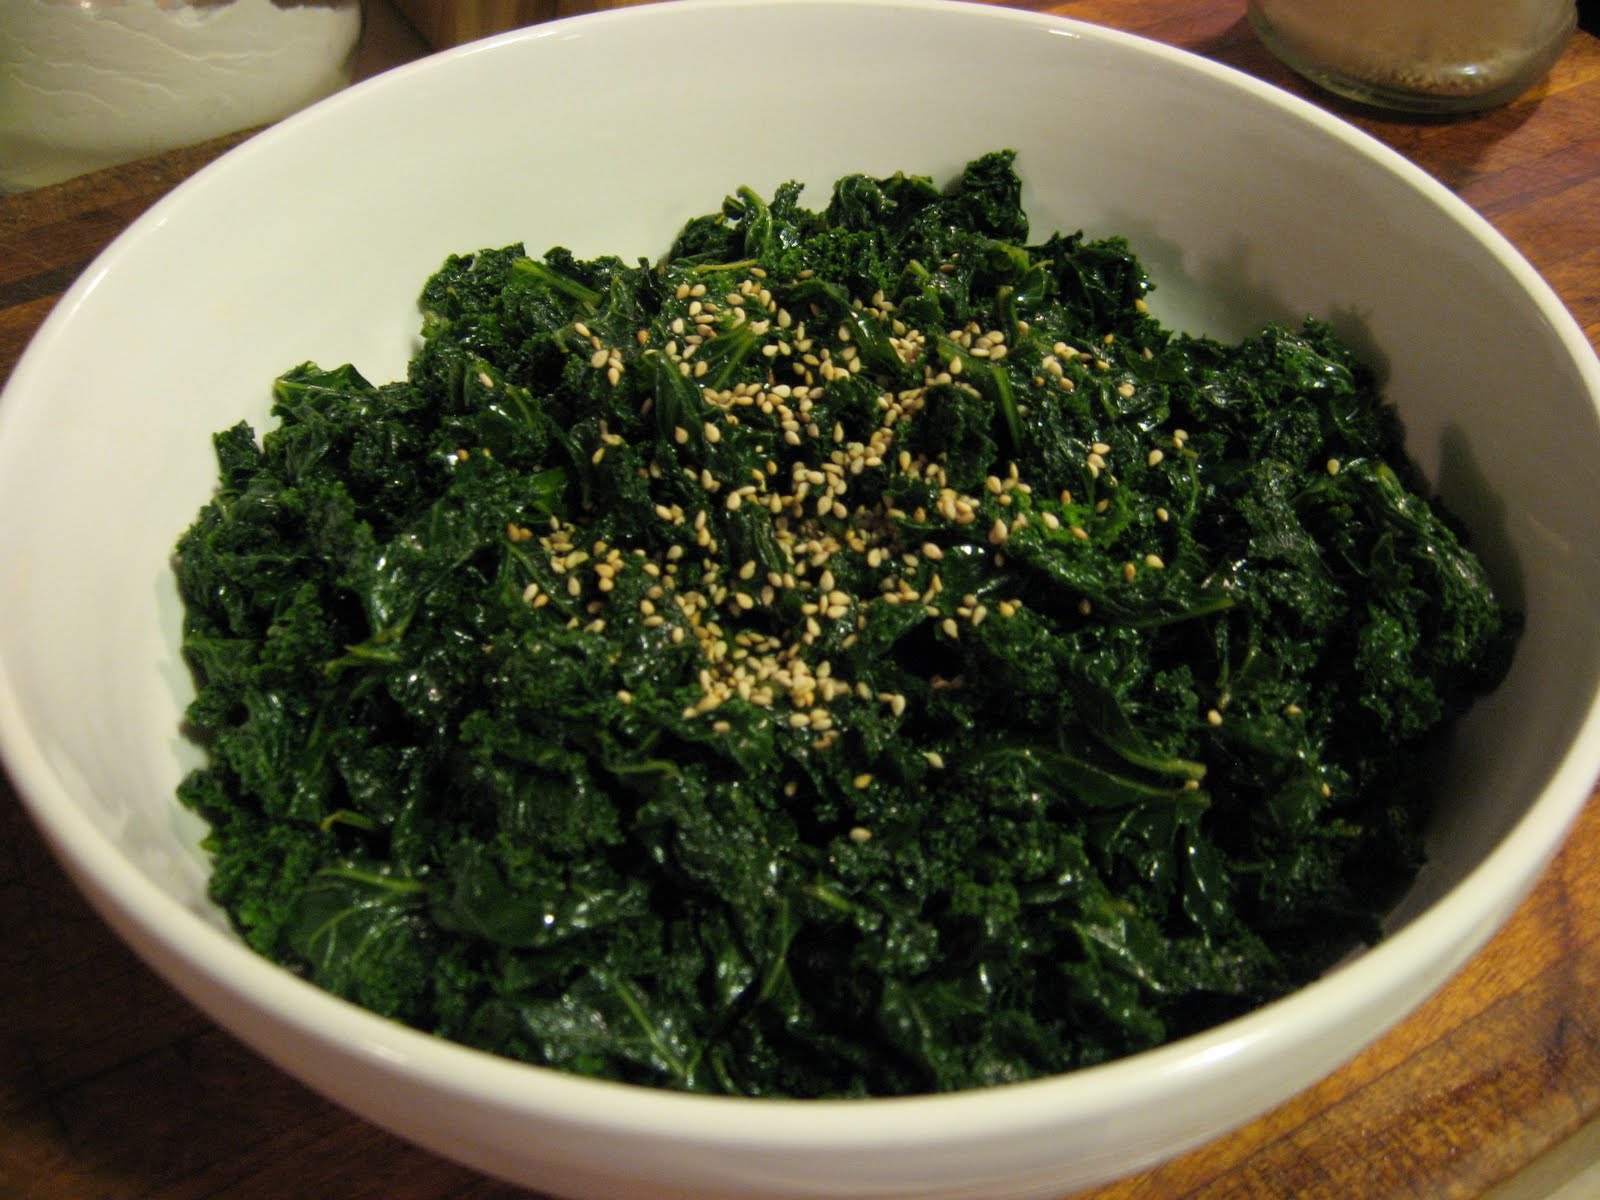
It looks nice if you toast some sesame seeds and sprinkle them on top.

I had so much fun today, it left me with not enough time to post pictures of all the other stuff I made. The repairman finally did come, and my washer had healed itself temporarily, so tomorrow I’ll do laundry.

Biscuits and Buns

In this post I will share two recipes I’ve had waiting in my Recipes-to-Try folder, and recently did get around to. I loved them both.

I found Brazilian Cheese Bread here at The Traveler’s Lunchbox. The Portuguese name is Pão de Queijo. These little buns are said to be very popular with coffee for breakfast in Brazil. (The picture at left is not of these rolls. I was afraid that if I didn’t put a colorful picture there you might not keep reading. That picture is of the biscuits I tell about further down.)

There are many recipes for the cheese buns around, with different ingredients and techniques (This one at the San Francisco Examiner looks plausible), but I will tend to stick with the Lunchbox version, as mine came out so good. One thing non-traditional in that recipe is the use of butter rather than oil. And I do love butter. I did cut down on the salt in my recipe, by 50%.

They are quite unusual, in that they are made with tapioca starch rather than flour, and therefore are gluten-free, and chewy.

The first picture I took was of the sticky dough that one puts little globs of on parchment paper. This is the unappetizing stage. But just be patient.

The rolls puff up as they bake, and while mine did come out with some “horns” and such like, they were oh-so-tender and light, while at the same time moist and tasty. I noticed that the Examiner recipe does have you make balls of the dough, which would reduce the prickly nature of the crust somewhat. But my dough was not firm enough for that.

The thin crispy crust broke open to reveal an interior that was not doughy at all, but very cheesy, with a stretchy “crumb.” No need for extra butter or anything. One eater said they were “intense.”

We all noticed the likeness to mochi, the Japanese term for food that is chewy like this and often made with a highly-refined rice flour called mochiko. I think if you like mochi-anything, you would love these buns. I’ll tell you more about mochi in another post.

Mr. Glad doesn’t like mochi, and he didn’t like the Brazilian Cheese Breads. Too bad.

I put the leftovers in the freezer, even though the original recipes say to only bake as many as you need and to freeze the balls instead, etc. This morning we put them in the microwave for a few seconds and they came out quite delicious.

The other recipe I tried last week was Sweet Potato Biscuits. I would be happy to live off sweet potatoes, and because they are almost nutritious enough for that, I like to use them in as many ways as possible.

I was a bit skeptical about how flaky a biscuit could be with the addition of vegetables, but they passed that test. Buttermilk biscuits have been my standby, so these were sweet by comparison, but not overly so. They were enjoyed by all. [lost the recipe somehow while trying to edit it at a later date. Sorry.]

Slow-roasting going on here.

In the last week I’ve had a few new adventures in the kitchen. What with the need to use the products of my garden yet-unharvested, I can’t stick around here very long, so I’ll be brief, and just now give you the link for the wonderful slow-roasted cherry tomatoes everyone seems to be talking about. You might have some little tomatoes around you could try this on. They are just as delectable as “everyone” says. If I had discovered them earlier in the summer….well, I didn’t. But next year!


I still have all three types and colors of cherry tomatoes, which is why my end result includes some very babyish ones. The smaller ones I took out of the oven after 3 1/2 hours, but the large red ones I left in all 4 hours.

The original recipe creator, I think it was, said that she likes a good amount of fennel in her seasoning, so I used 1/2 teaspoon of fennel seeds and 1 1/2 teaspoons of an “Italian seasoning” mix for my seasoning. The finished tomatoes were just perfect, so I’ll do the same thing again tomorrow with what I picked today.

I can see why households with children wouldn’t have any of these left over, but as there were only two of us, I put some in the freezer for later. If I hadn’t exercised such discipline, though, I’m sure they would have quickly disappeared.

Cherry Tomato Soup


Mr. Glad and I have been eating bowls and bowls of cherry tomato salad, but are inundated with many more of the tiny love apples than we can consume fresh.

So I was quite pleased to read that another blogger had made soup from hers. Well, of course! I make soup from everything, so I don’t know why I hadn’t thought of that myself.


I got right to work and sautéed one onion and several large cloves of garlic in about 1/4 cup of olive oil.

Then I added to the 6-quart pot this many tomatoes…hmm…would that be about 4 quarts? I cut the long, larger tomatoes in two. Chopped up a few sprigs of basil, added about a teaspoon of salt and a few grindings of black pepper.

Cooked it all very slowly with the lid on, and after 20 minutes my soup looked like this.
I thought it would be nice if it were mostly creamy, with a few chunks, so I transferred about two cupfuls to a bowl, and then puréed the rest in the blender and added it to the bowl as well.


My batch made nearly 3 quarts, I think. My original plan was that it would be a soup base, but I tasted it, and it is perfect the way it is! Very sweet and lots of tomato flavor. Still, I’m not promising I won’t add a little “good cream,” as M.F.K. Fisher would probably recommend. I’m putting it in the freezer for more wintry days.

As soon as I finished this easy project, I saw that yet another blogger was showing how to make slow-roasted cherry tomatoes. Now I know just what to do with tomorrow’s pickings.